Backstage Software Templates
The Software Templates part of Backstage is a tool that can help you create Components inside Backstage. By default, it has the ability to load skeletons of code, template in some variables, and then publish the template to some locations like GitHub or GitLab.
When creating custom scaffolder actions, use camelCase for action IDs instead of kebab-case. Action IDs with dashes (like fetch-component-id) will cause template expressions like ${{ steps.fetch-component-id.output.componentId }} to return NaN because the dashes are evaluated as subtraction operators in JavaScript expressions.
See the Writing Custom Actions guide for more details.
Prerequisites
These docs assume you have already gone over the Backstage Getting Started section and you are able to run Backstage locally or it has been deployed somewhere.
Getting Started
Software Templates you have imported into Backstage can be found under /create.
If you're running Backstage locally, this will be http://localhost:3000/create.
Once there, you should see something that looks similar to this:
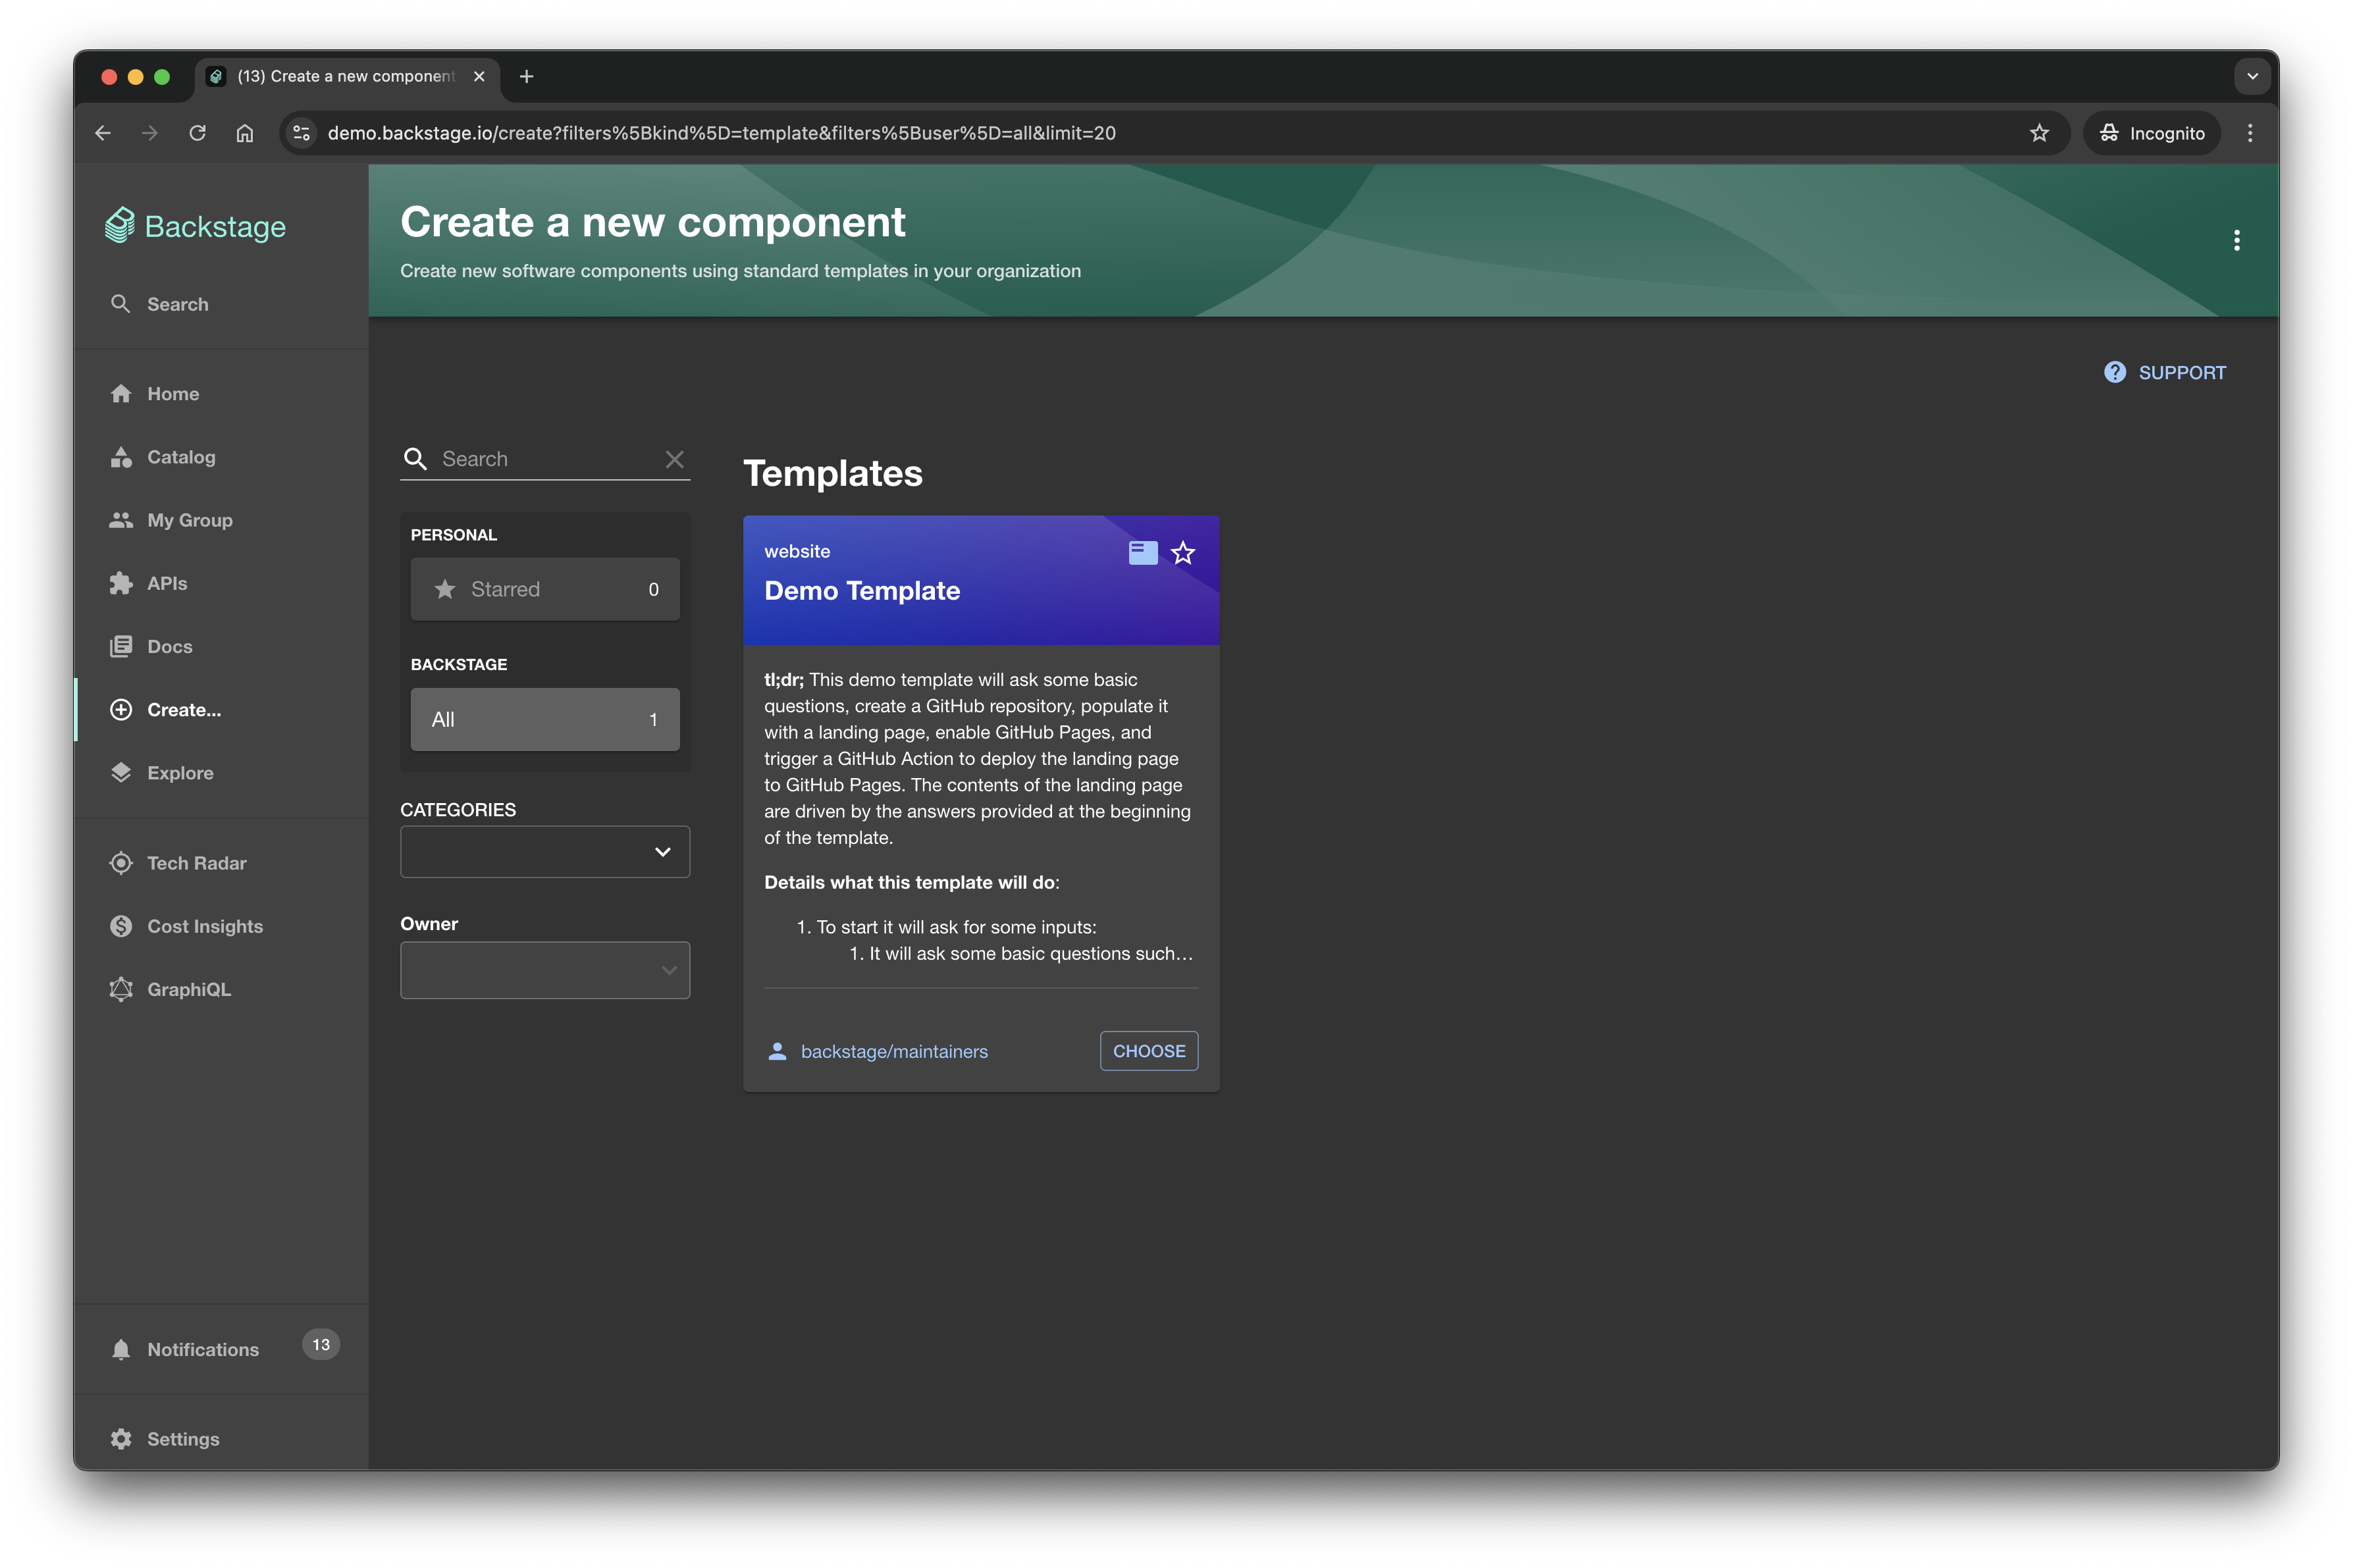
Choose a template
When you select a template that you want to create, you'll be taken to the next page which may or may not look different for each template. Each template can ask for different input variables, and they are then passed to the templater internally.
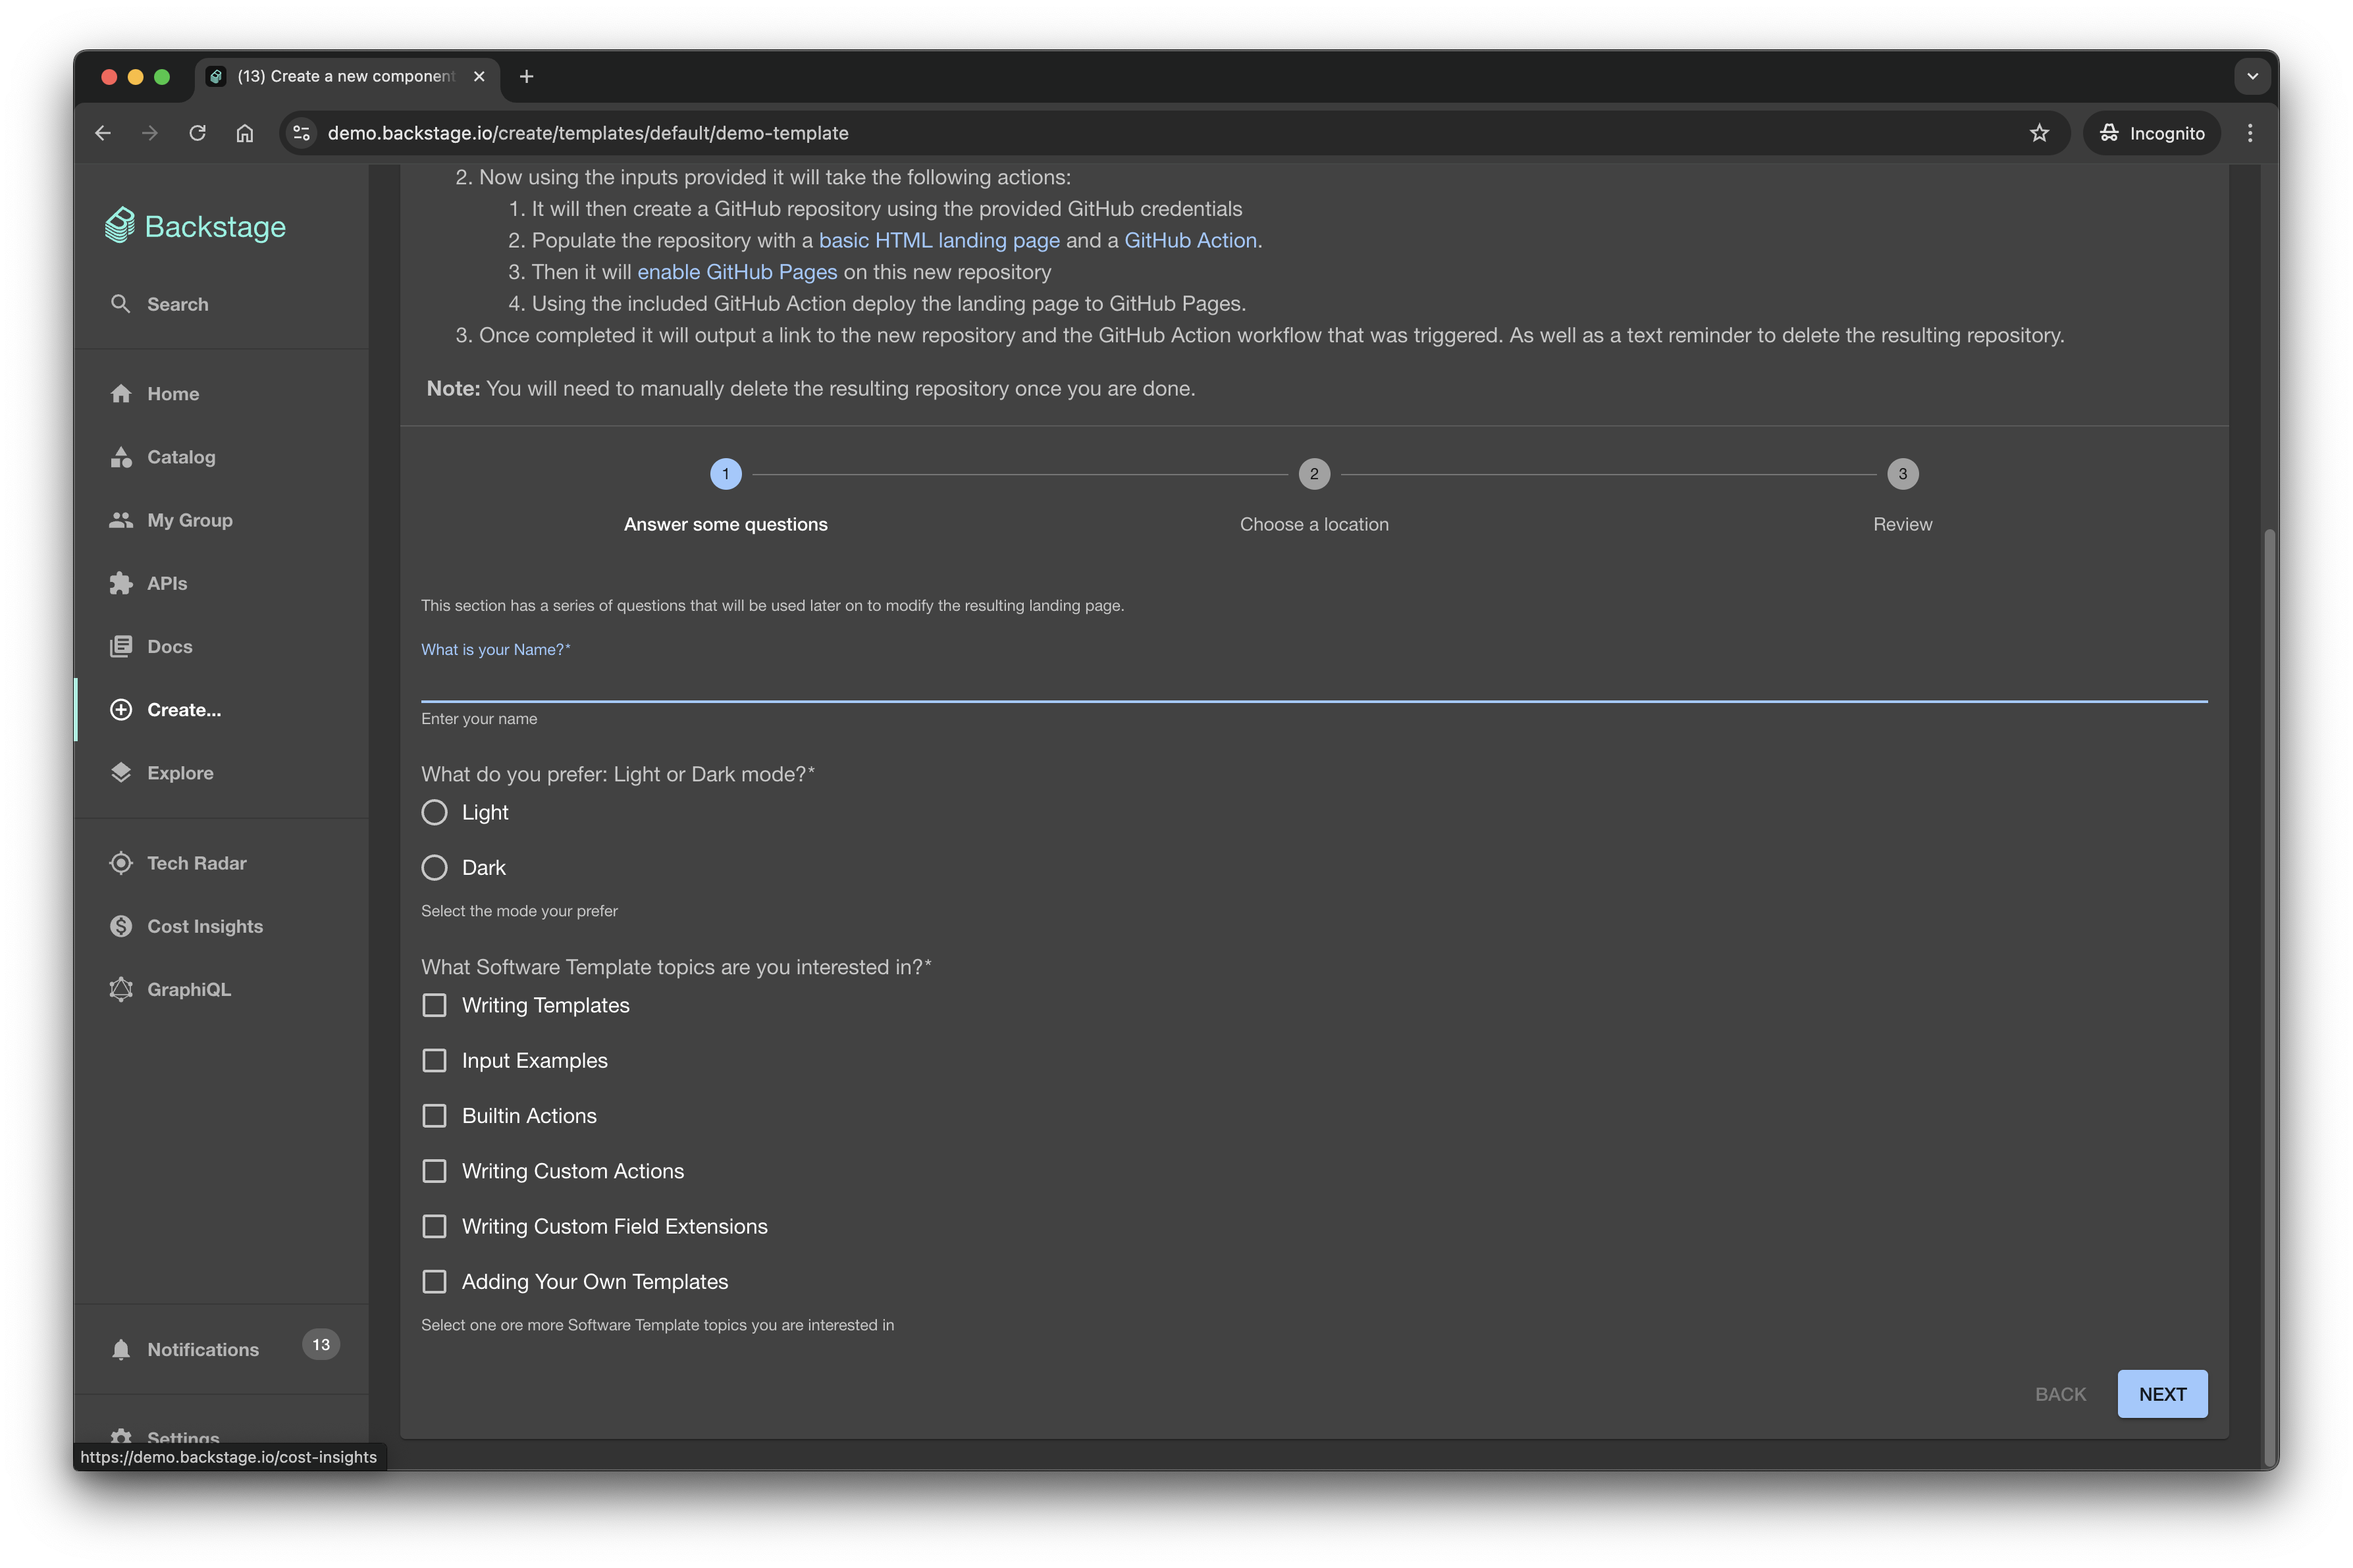
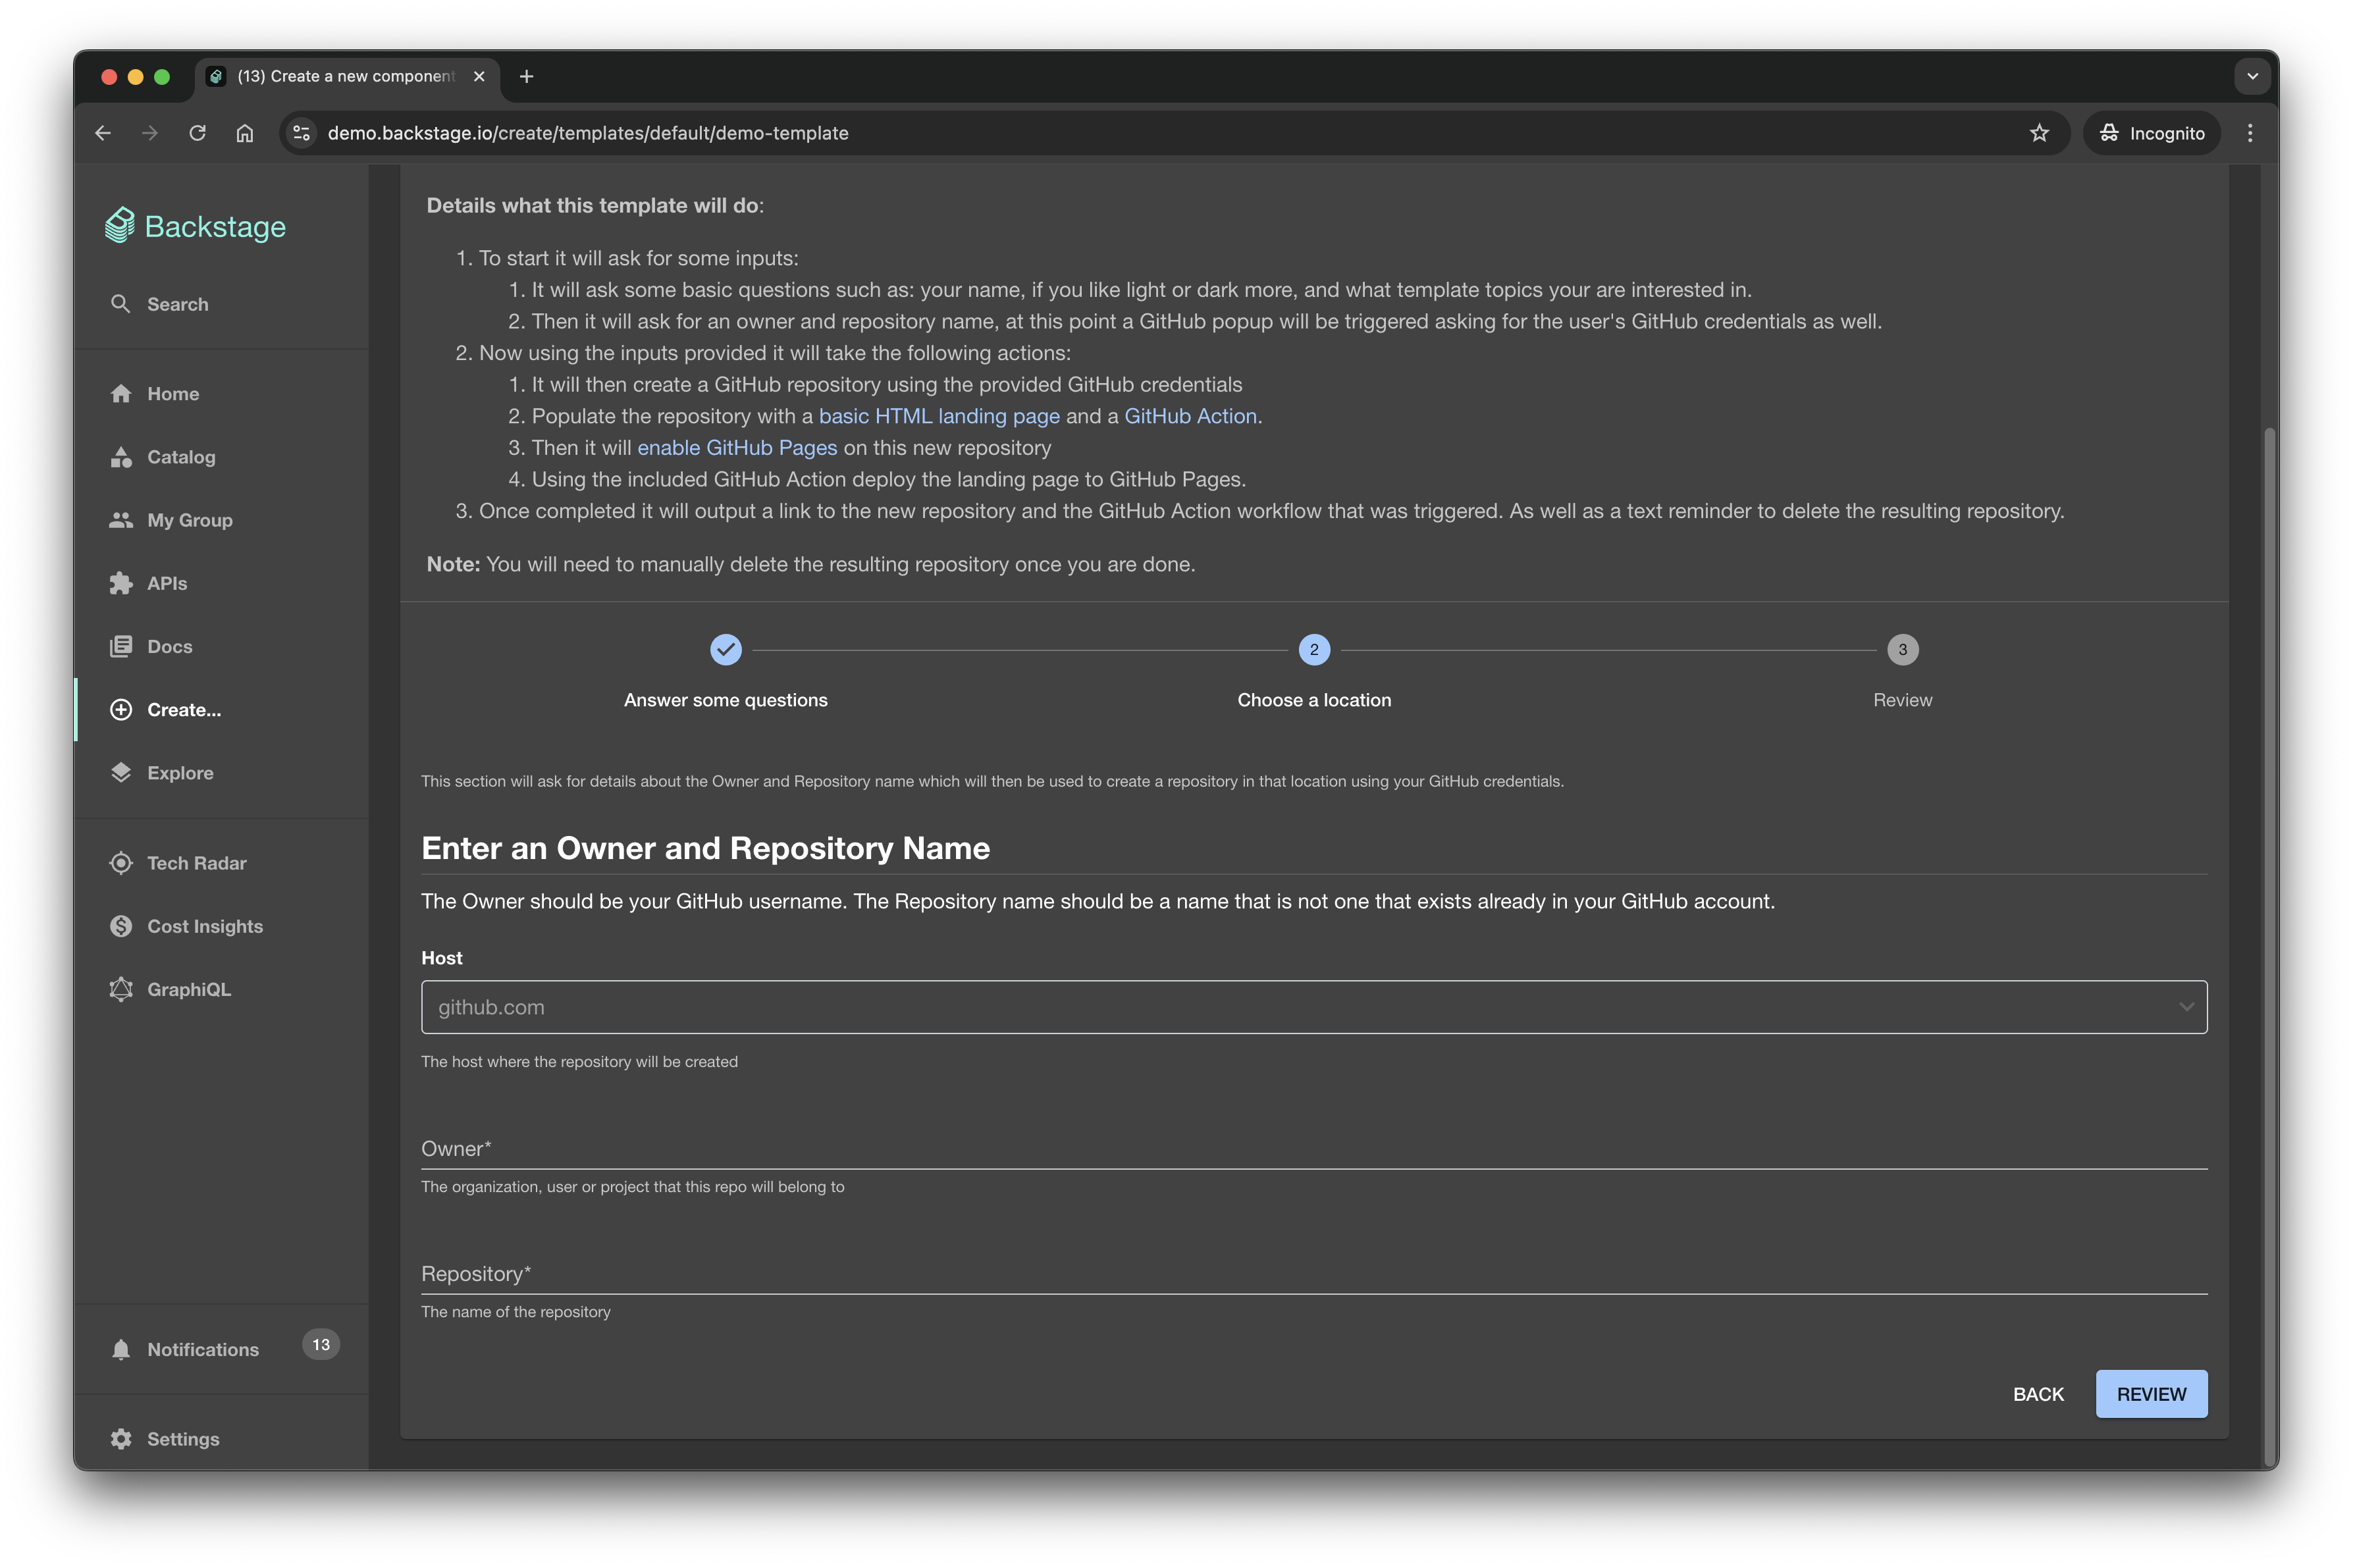
Templates generally consist of a set of steps, and each step can have its own set of required or optional inputs, as you can see in the image below we are now prompted to input some Github repository information.
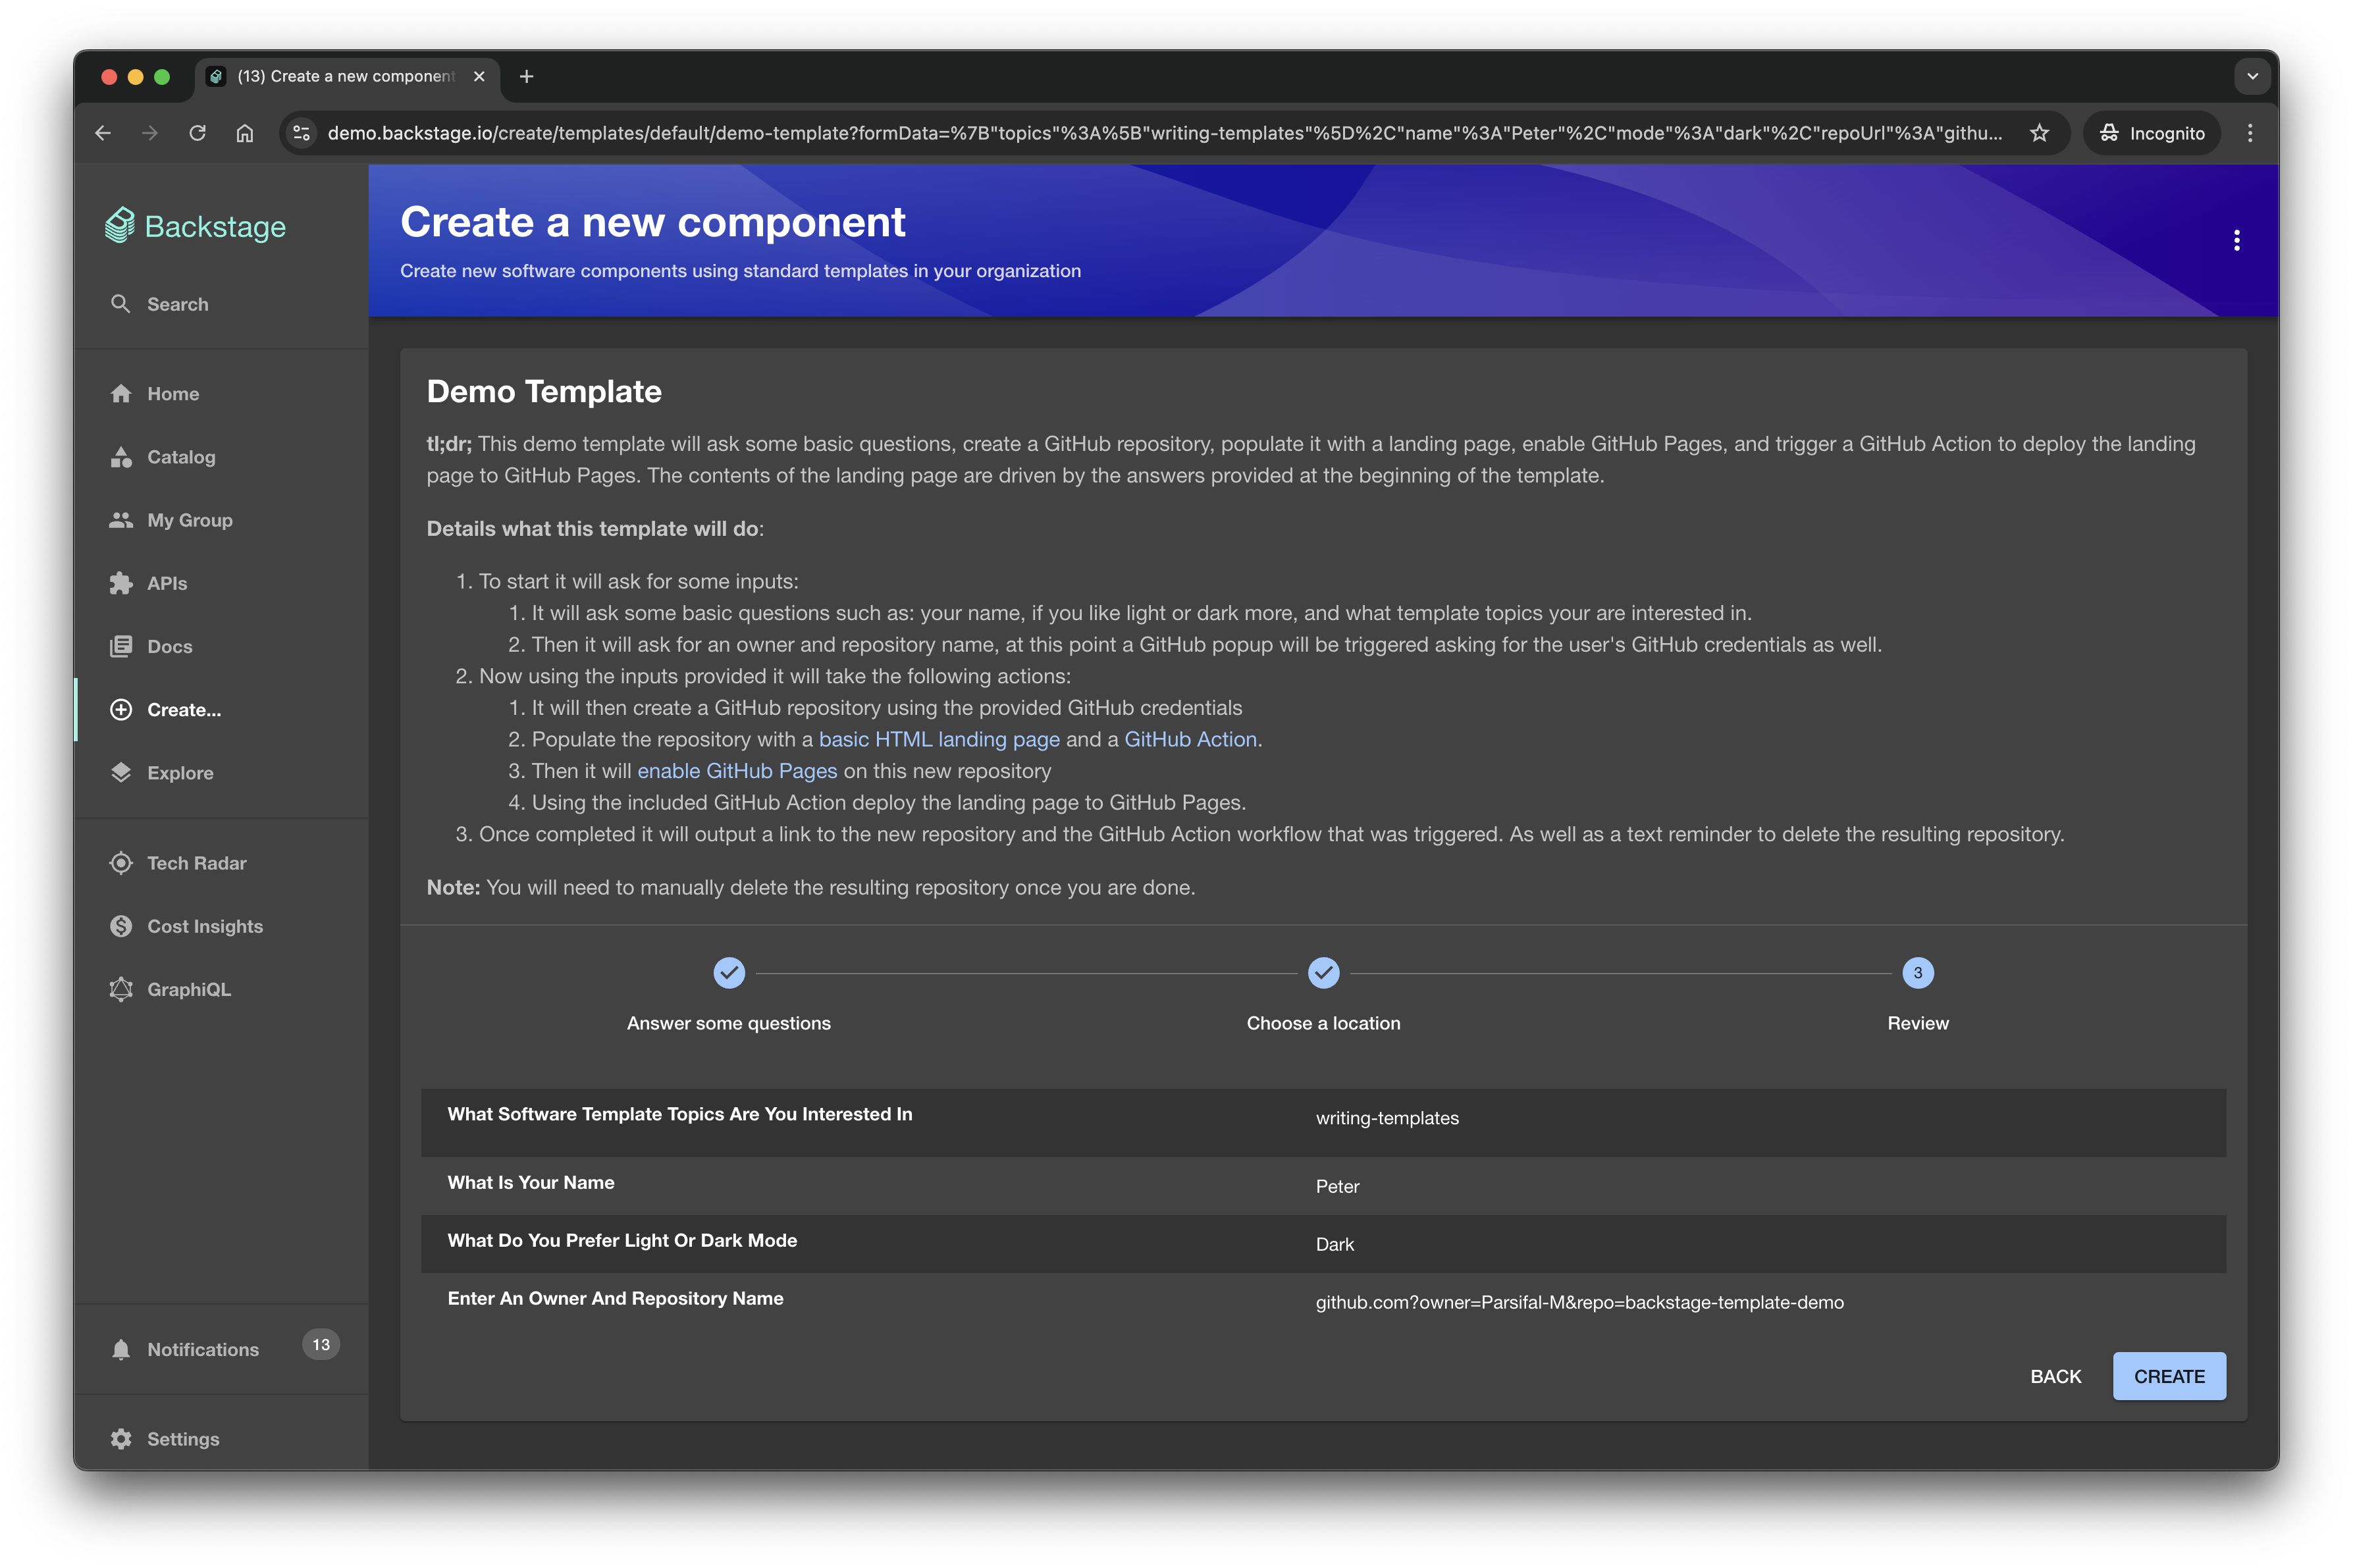
Review page
Before you run the template, you'll be taken to a summary page where you can verify the inputs you have provided before we run the template.
This is a good time to double check that you have provided the correct information and allows you to go back and change any of the inputs if you need to.
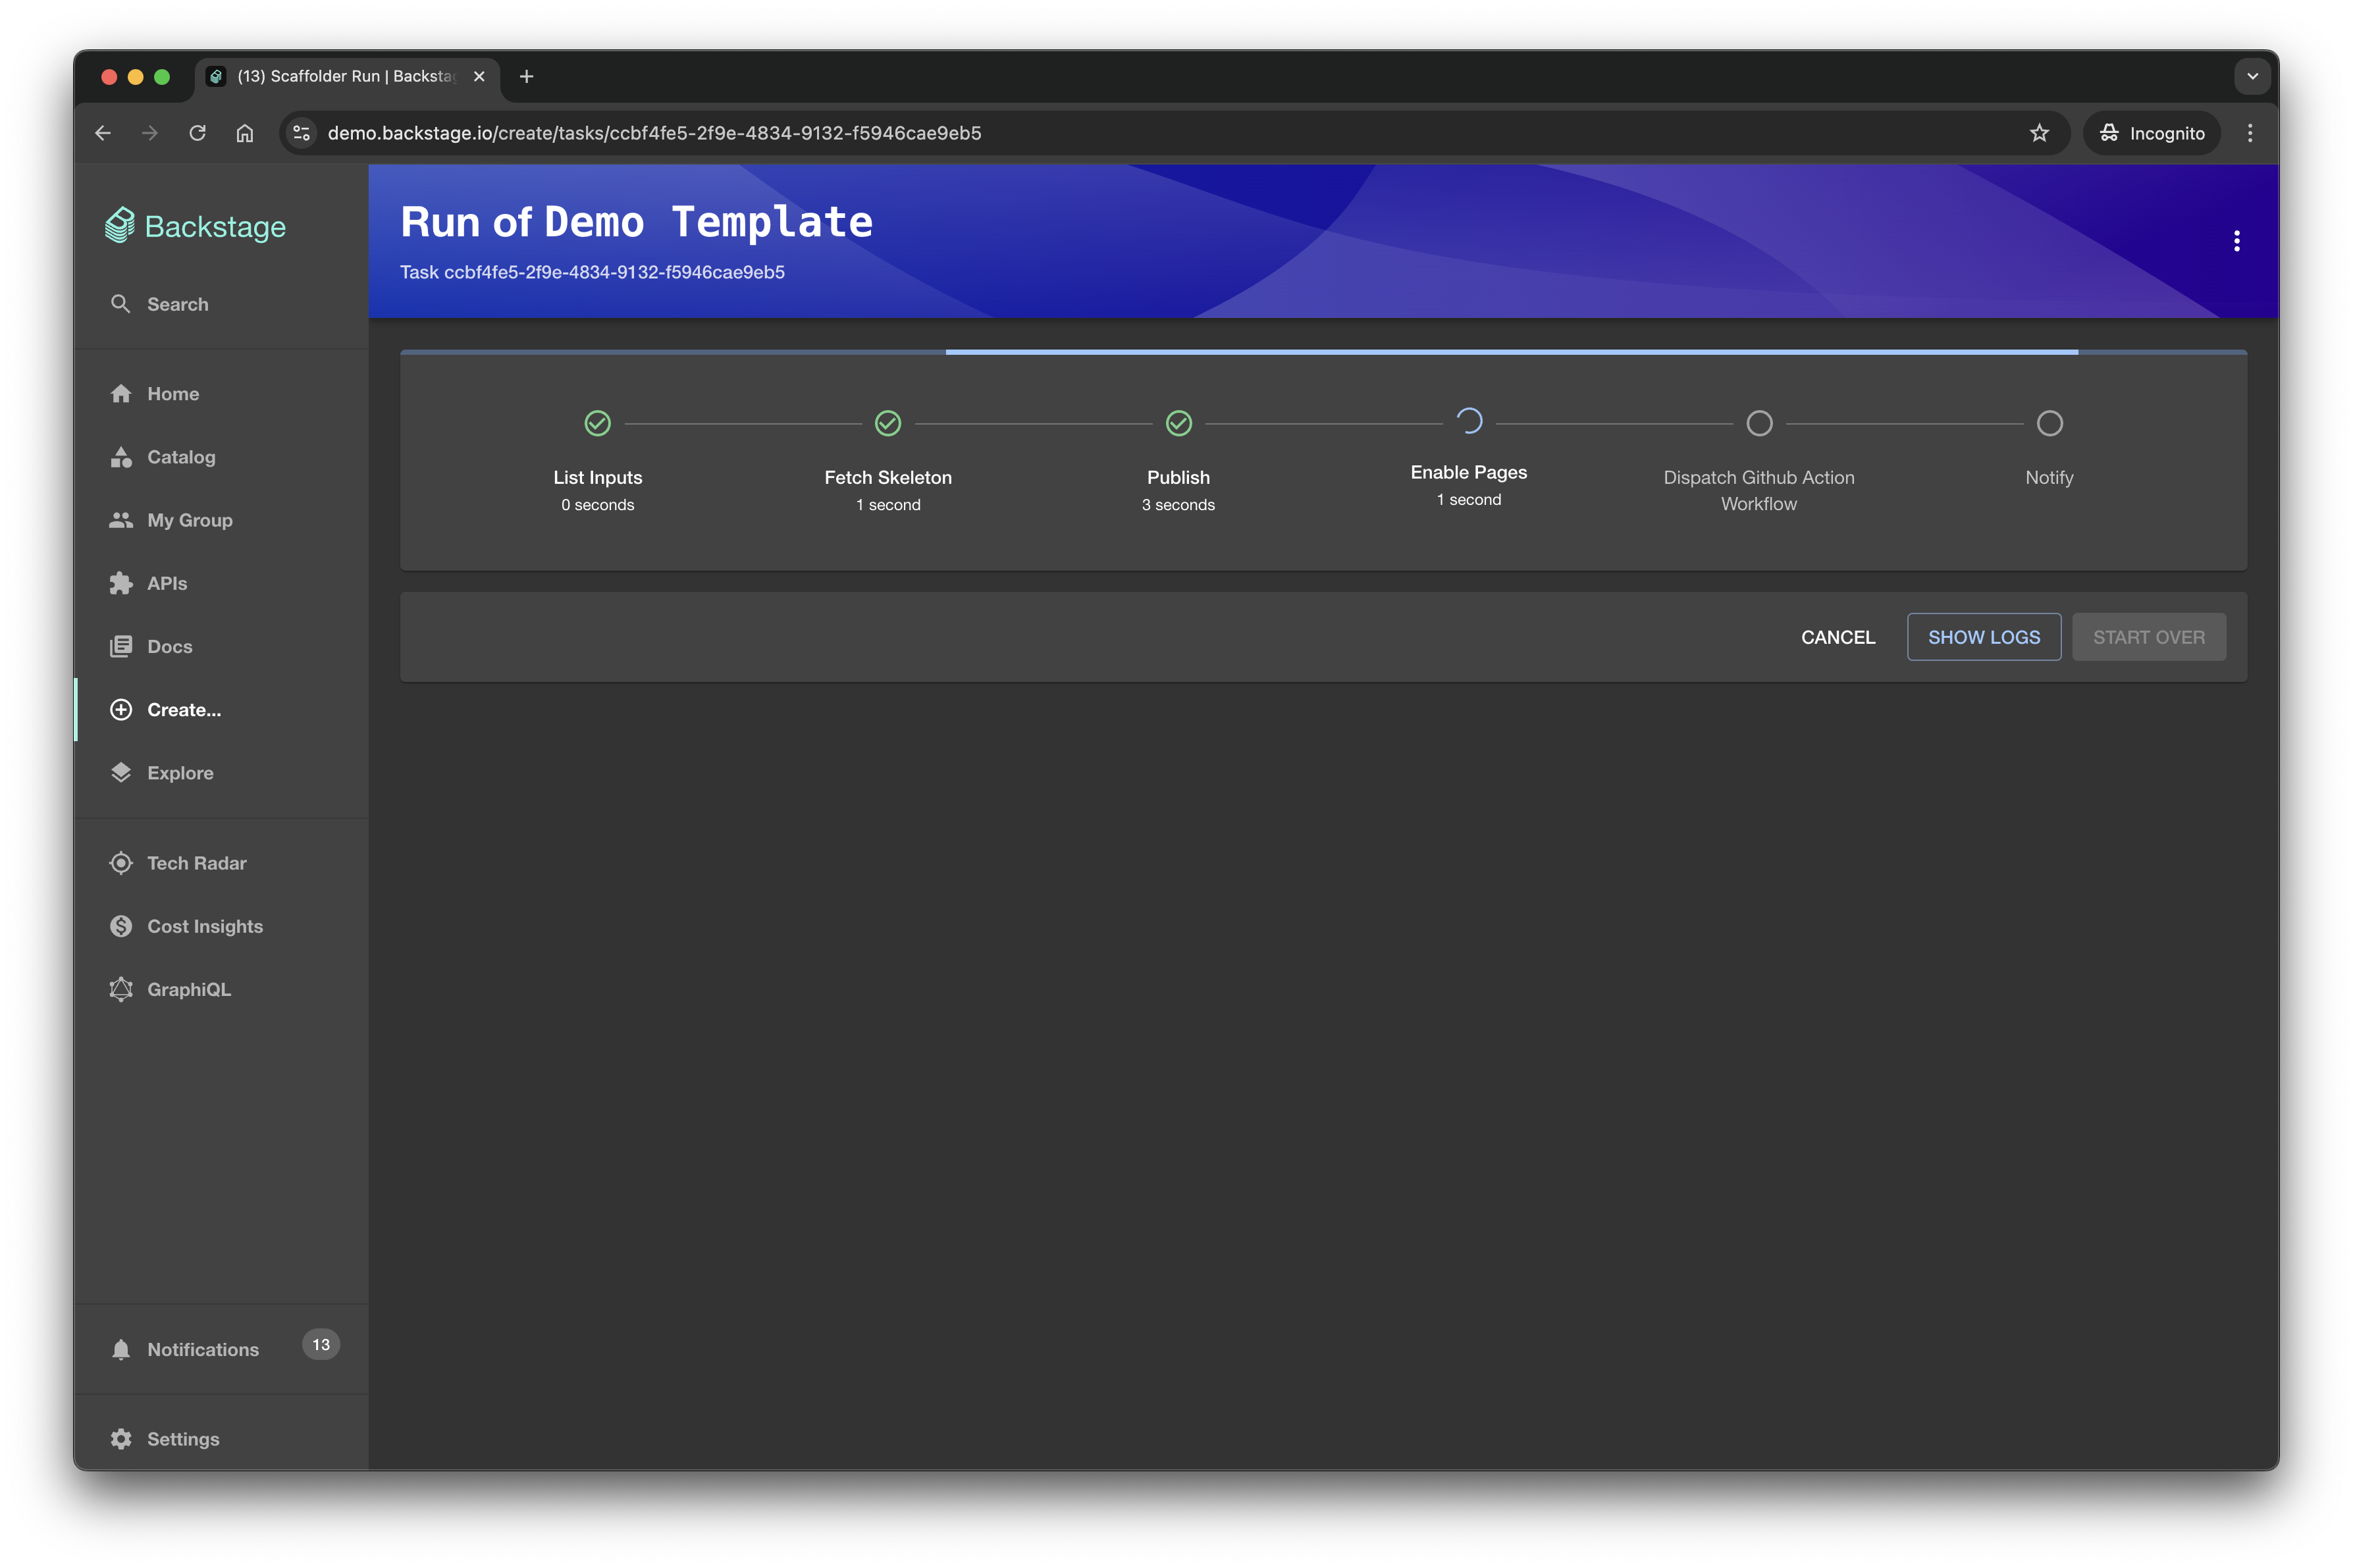
Run the template
Once you are happy with the inputs you have provided, you can click on the Create button to run the template.
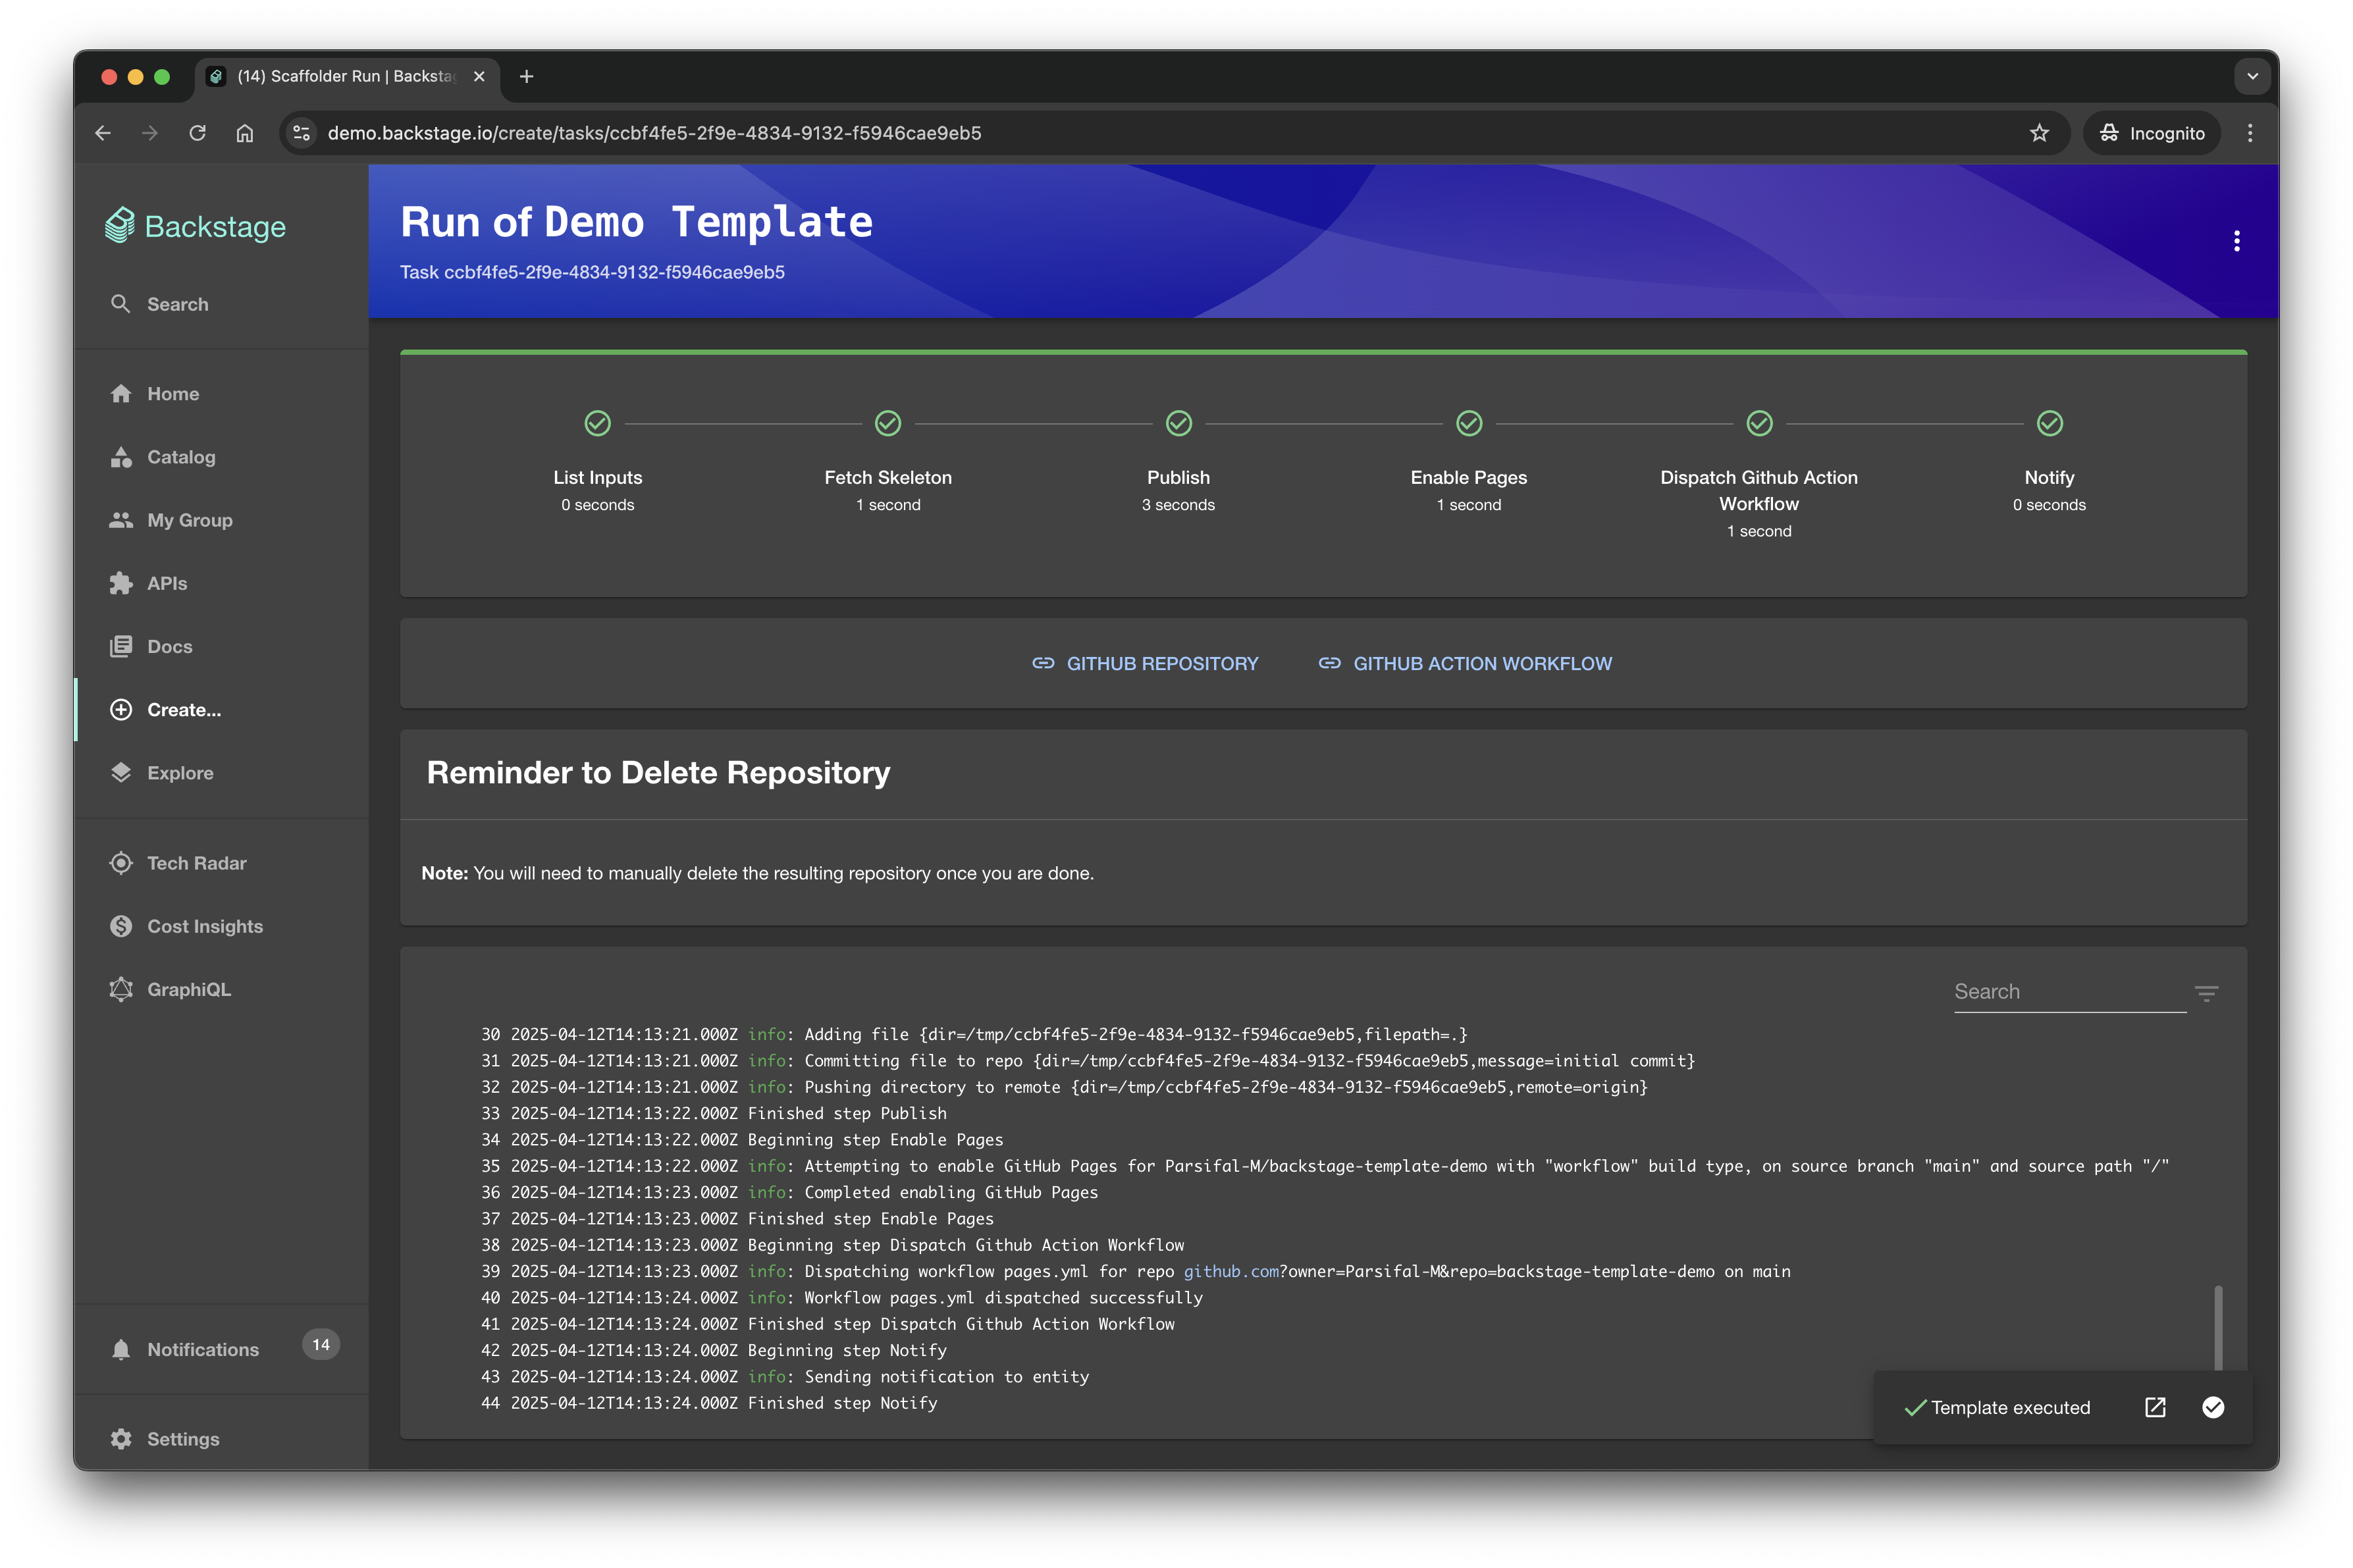
Success
Once the template has finished running, you'll be taken to a success page where you can see the results of the template.
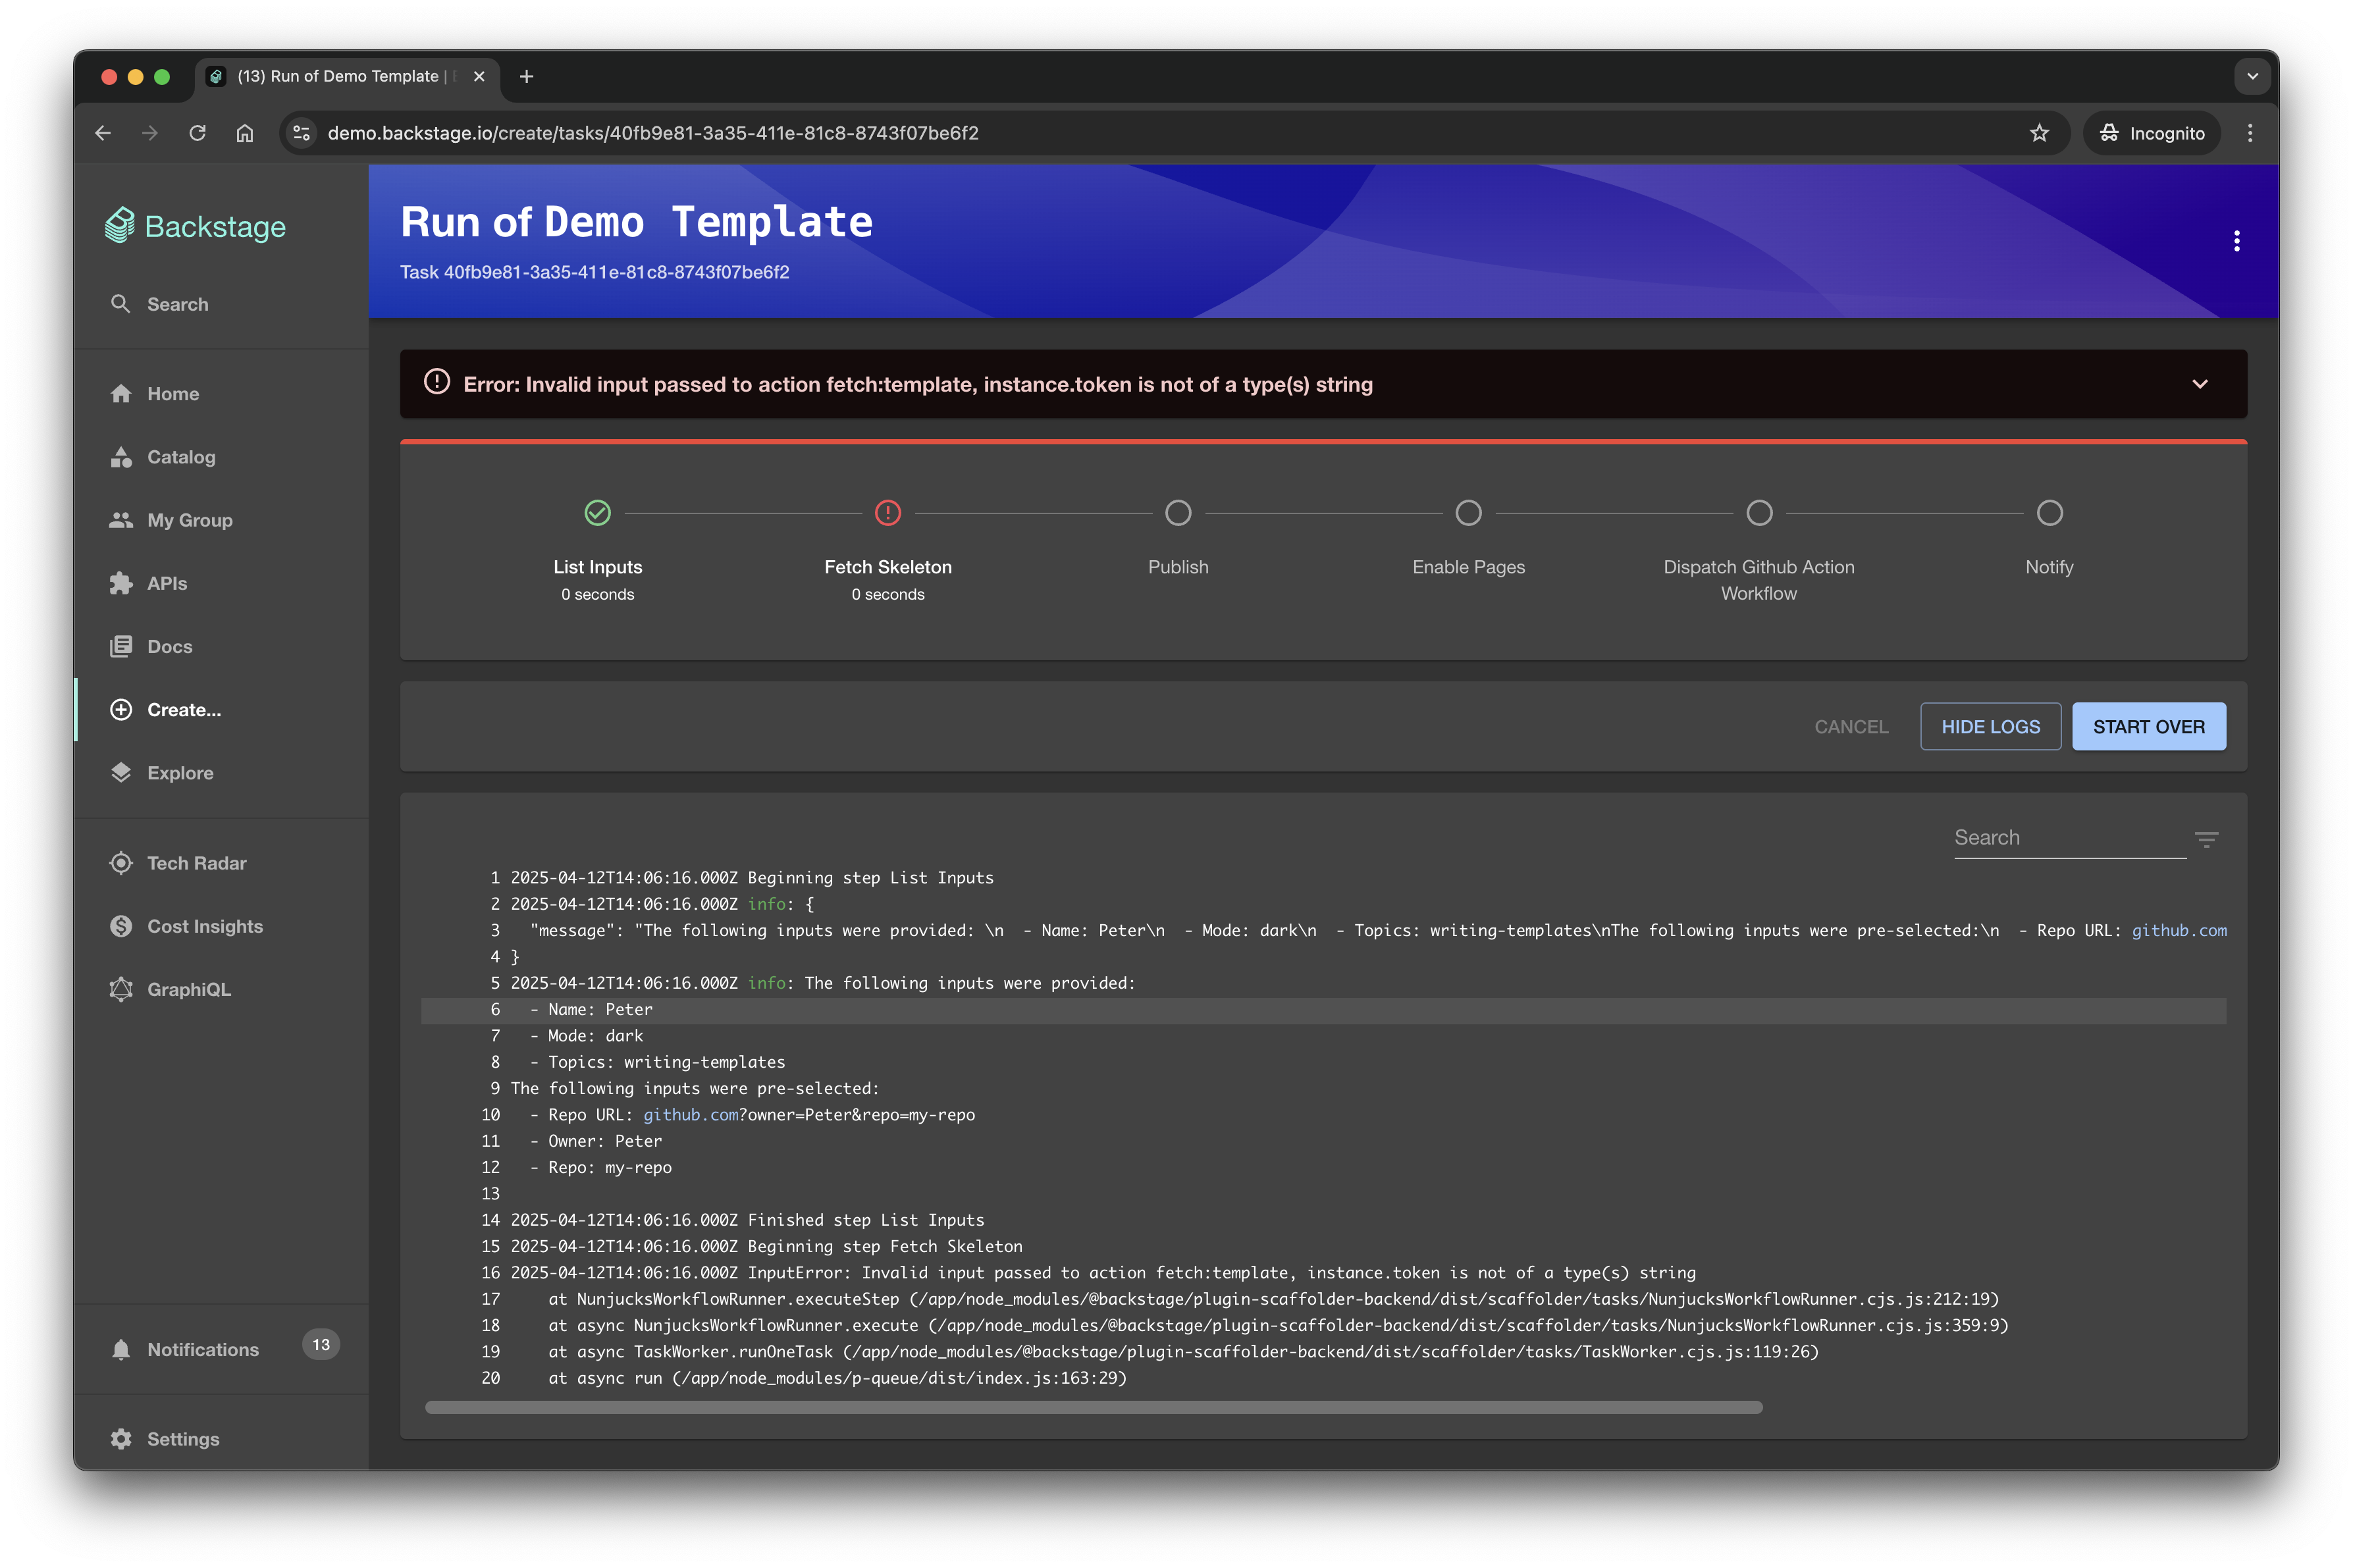
Failure
If it fails, you'll be able to click on each section to get the log from the step that failed which can be helpful in debugging.
You can also cancel the running process. Once you clicked on button "Cancel", the abort signal will be sent to a task and all next steps won't be executed. The current step will be cancelled only if it supports it.
View the Results
Once the template has finished running, and from the screenshot above, when its successful, you are presented with two links, clicking on them will take you to the templated repository we created!
Disable Register Existing Component button
There could be situations where you would like to disable the
Register Existing Component button for your users.
To do so, you need to explicitly disable the default route binding from the scaffolderPlugin.registerComponent to the Catalog Import page.
This can be done in backstage/packages/app/src/App.tsx:
 const app = createApp({
   apis,
   bindRoutes({ bind }) {
     bind(scaffolderPlugin.externalRoutes, {
+      registerComponent: false,
-      registerComponent: catalogImportPlugin.routes.importPage,
       viewTechDoc: techdocsPlugin.routes.docRoot,
     });
})
OR in app-config.yaml:
app:
  routes:
    bindings:
      scaffolder.registerComponent: false
After the change, you should no longer see the button.
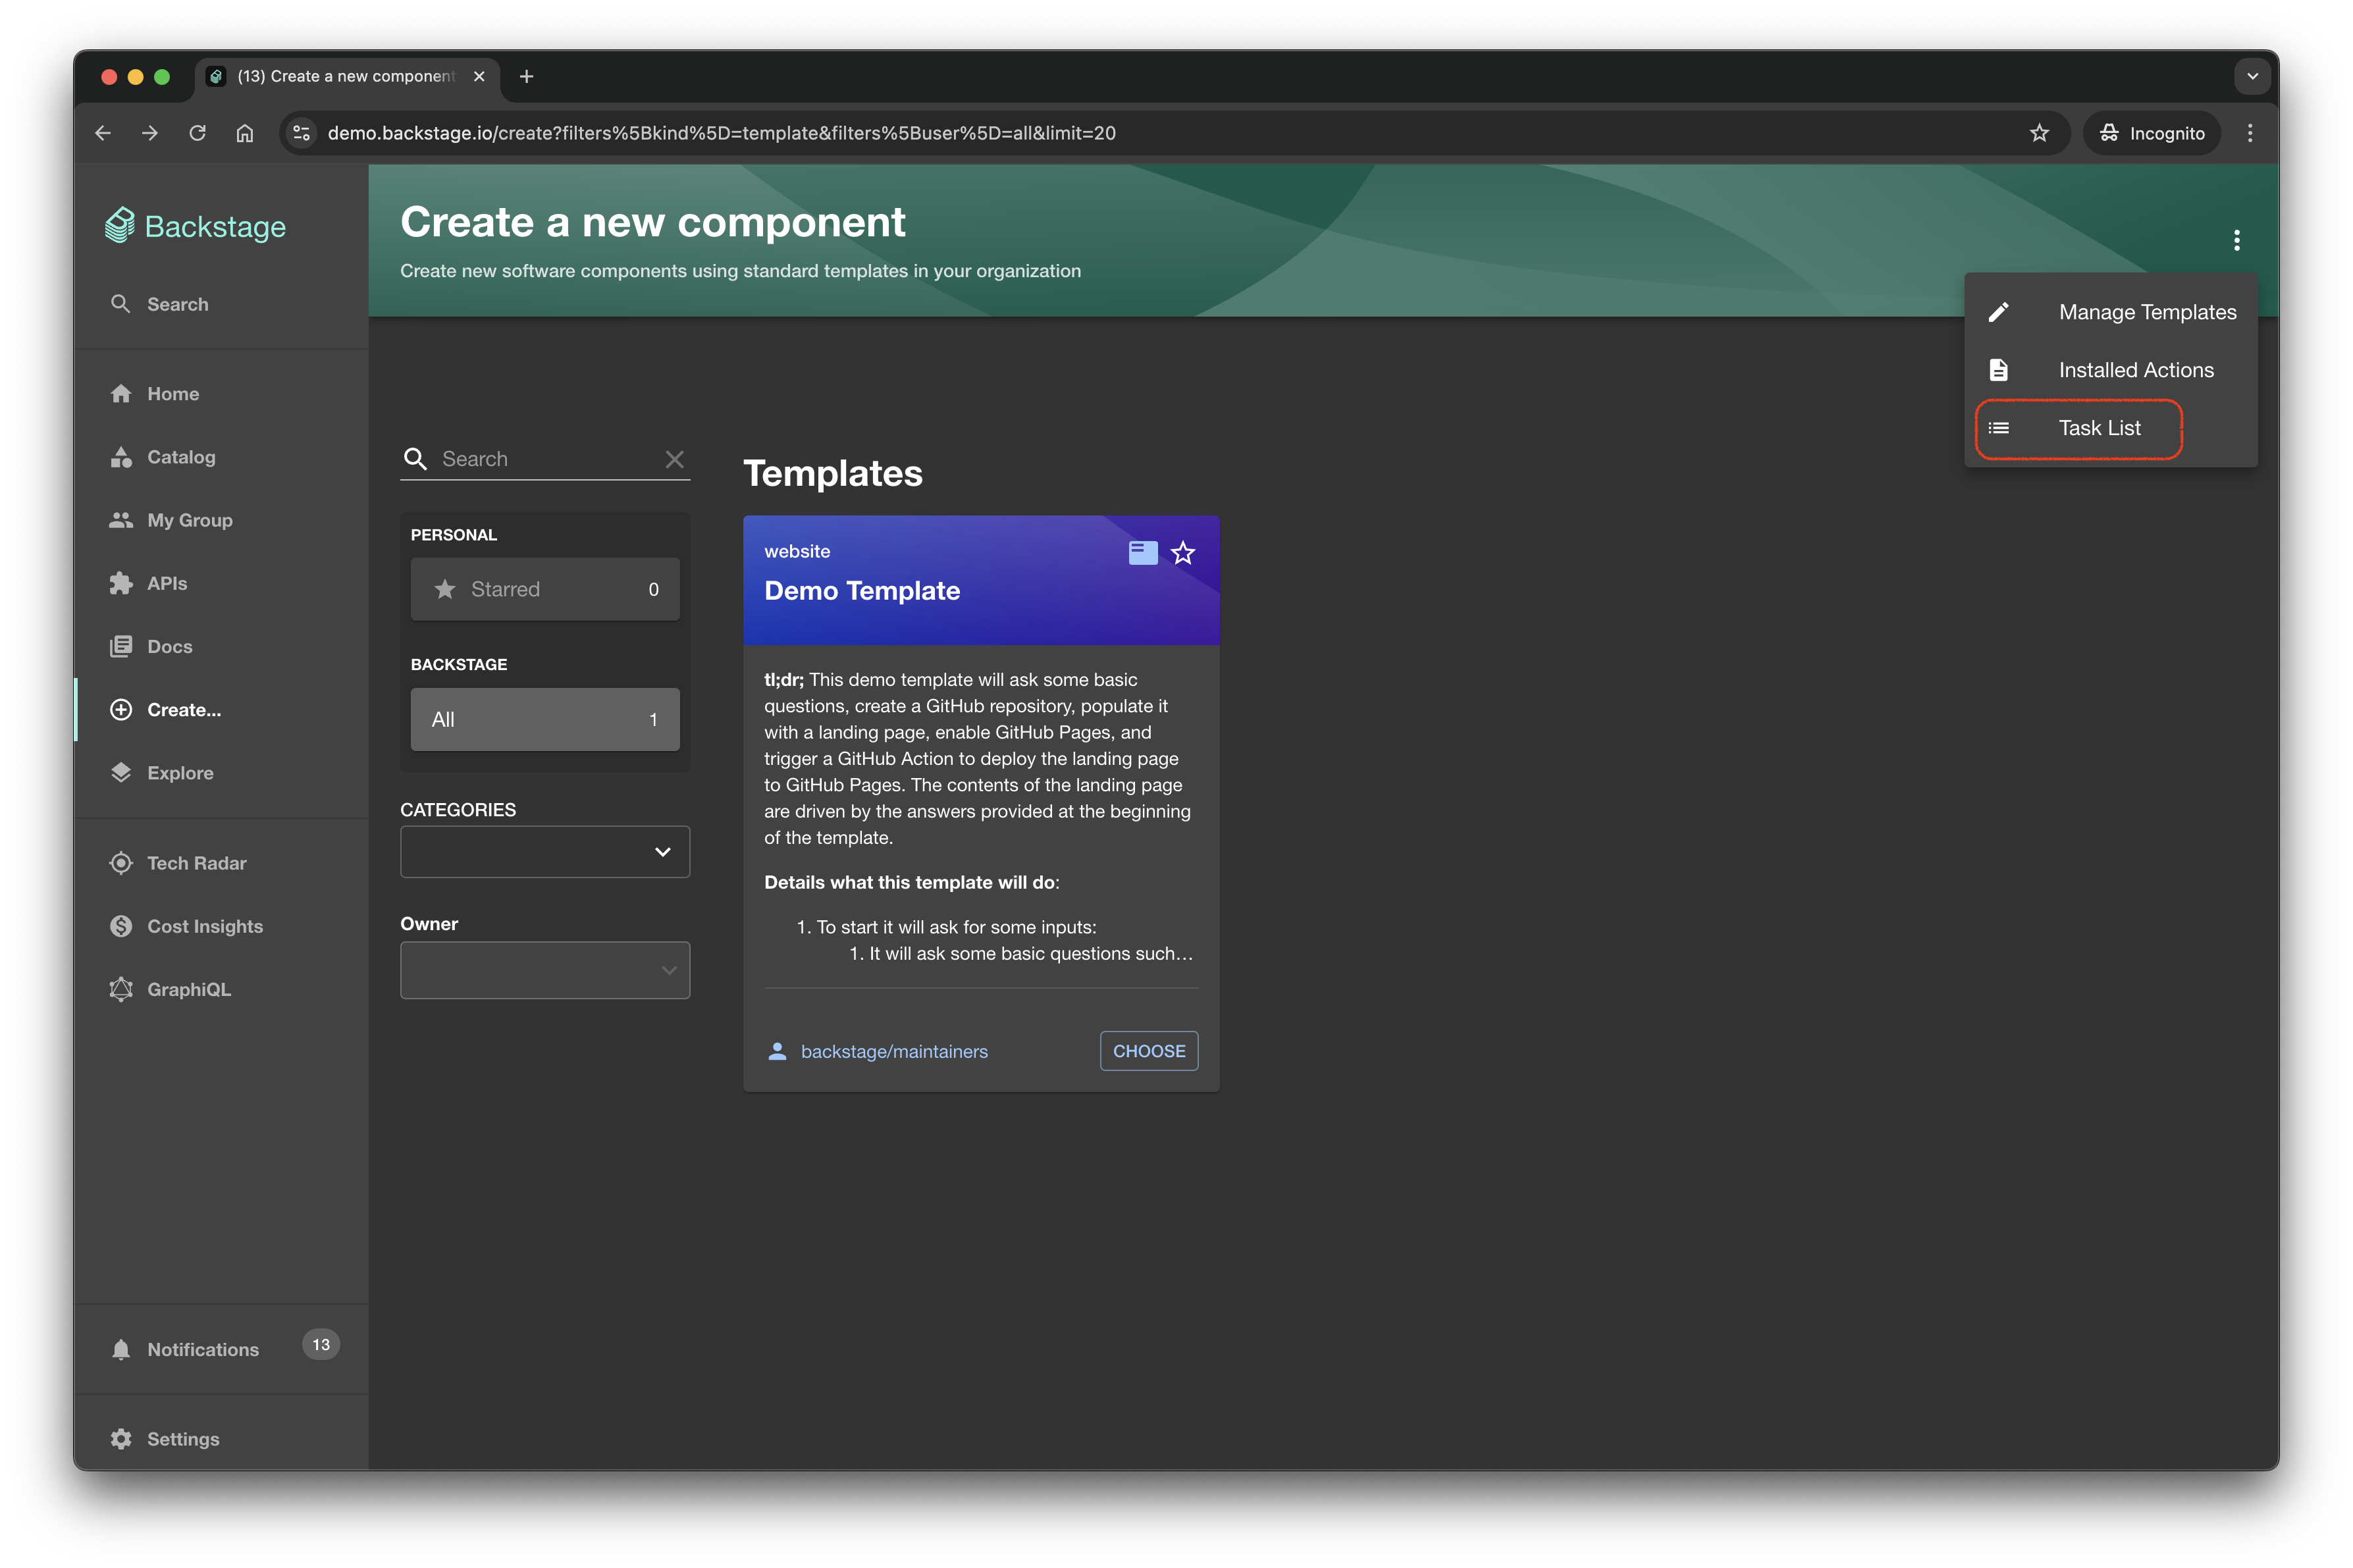
Template Task List
Each execution of a template is treated as a unique task, identifiable by its own unique ID. To view a list of previously executed template tasks, navigate to the "Create" page and access the "Task List" from the context menu (represented by the vertical ellipsis, or 'kebab menu', icon in the upper right corner).
Starting Over
If you wish to re-run a previously executed template, navigate to the template tasks page. Locate the desired task and select the "Start Over" option from the context menu.
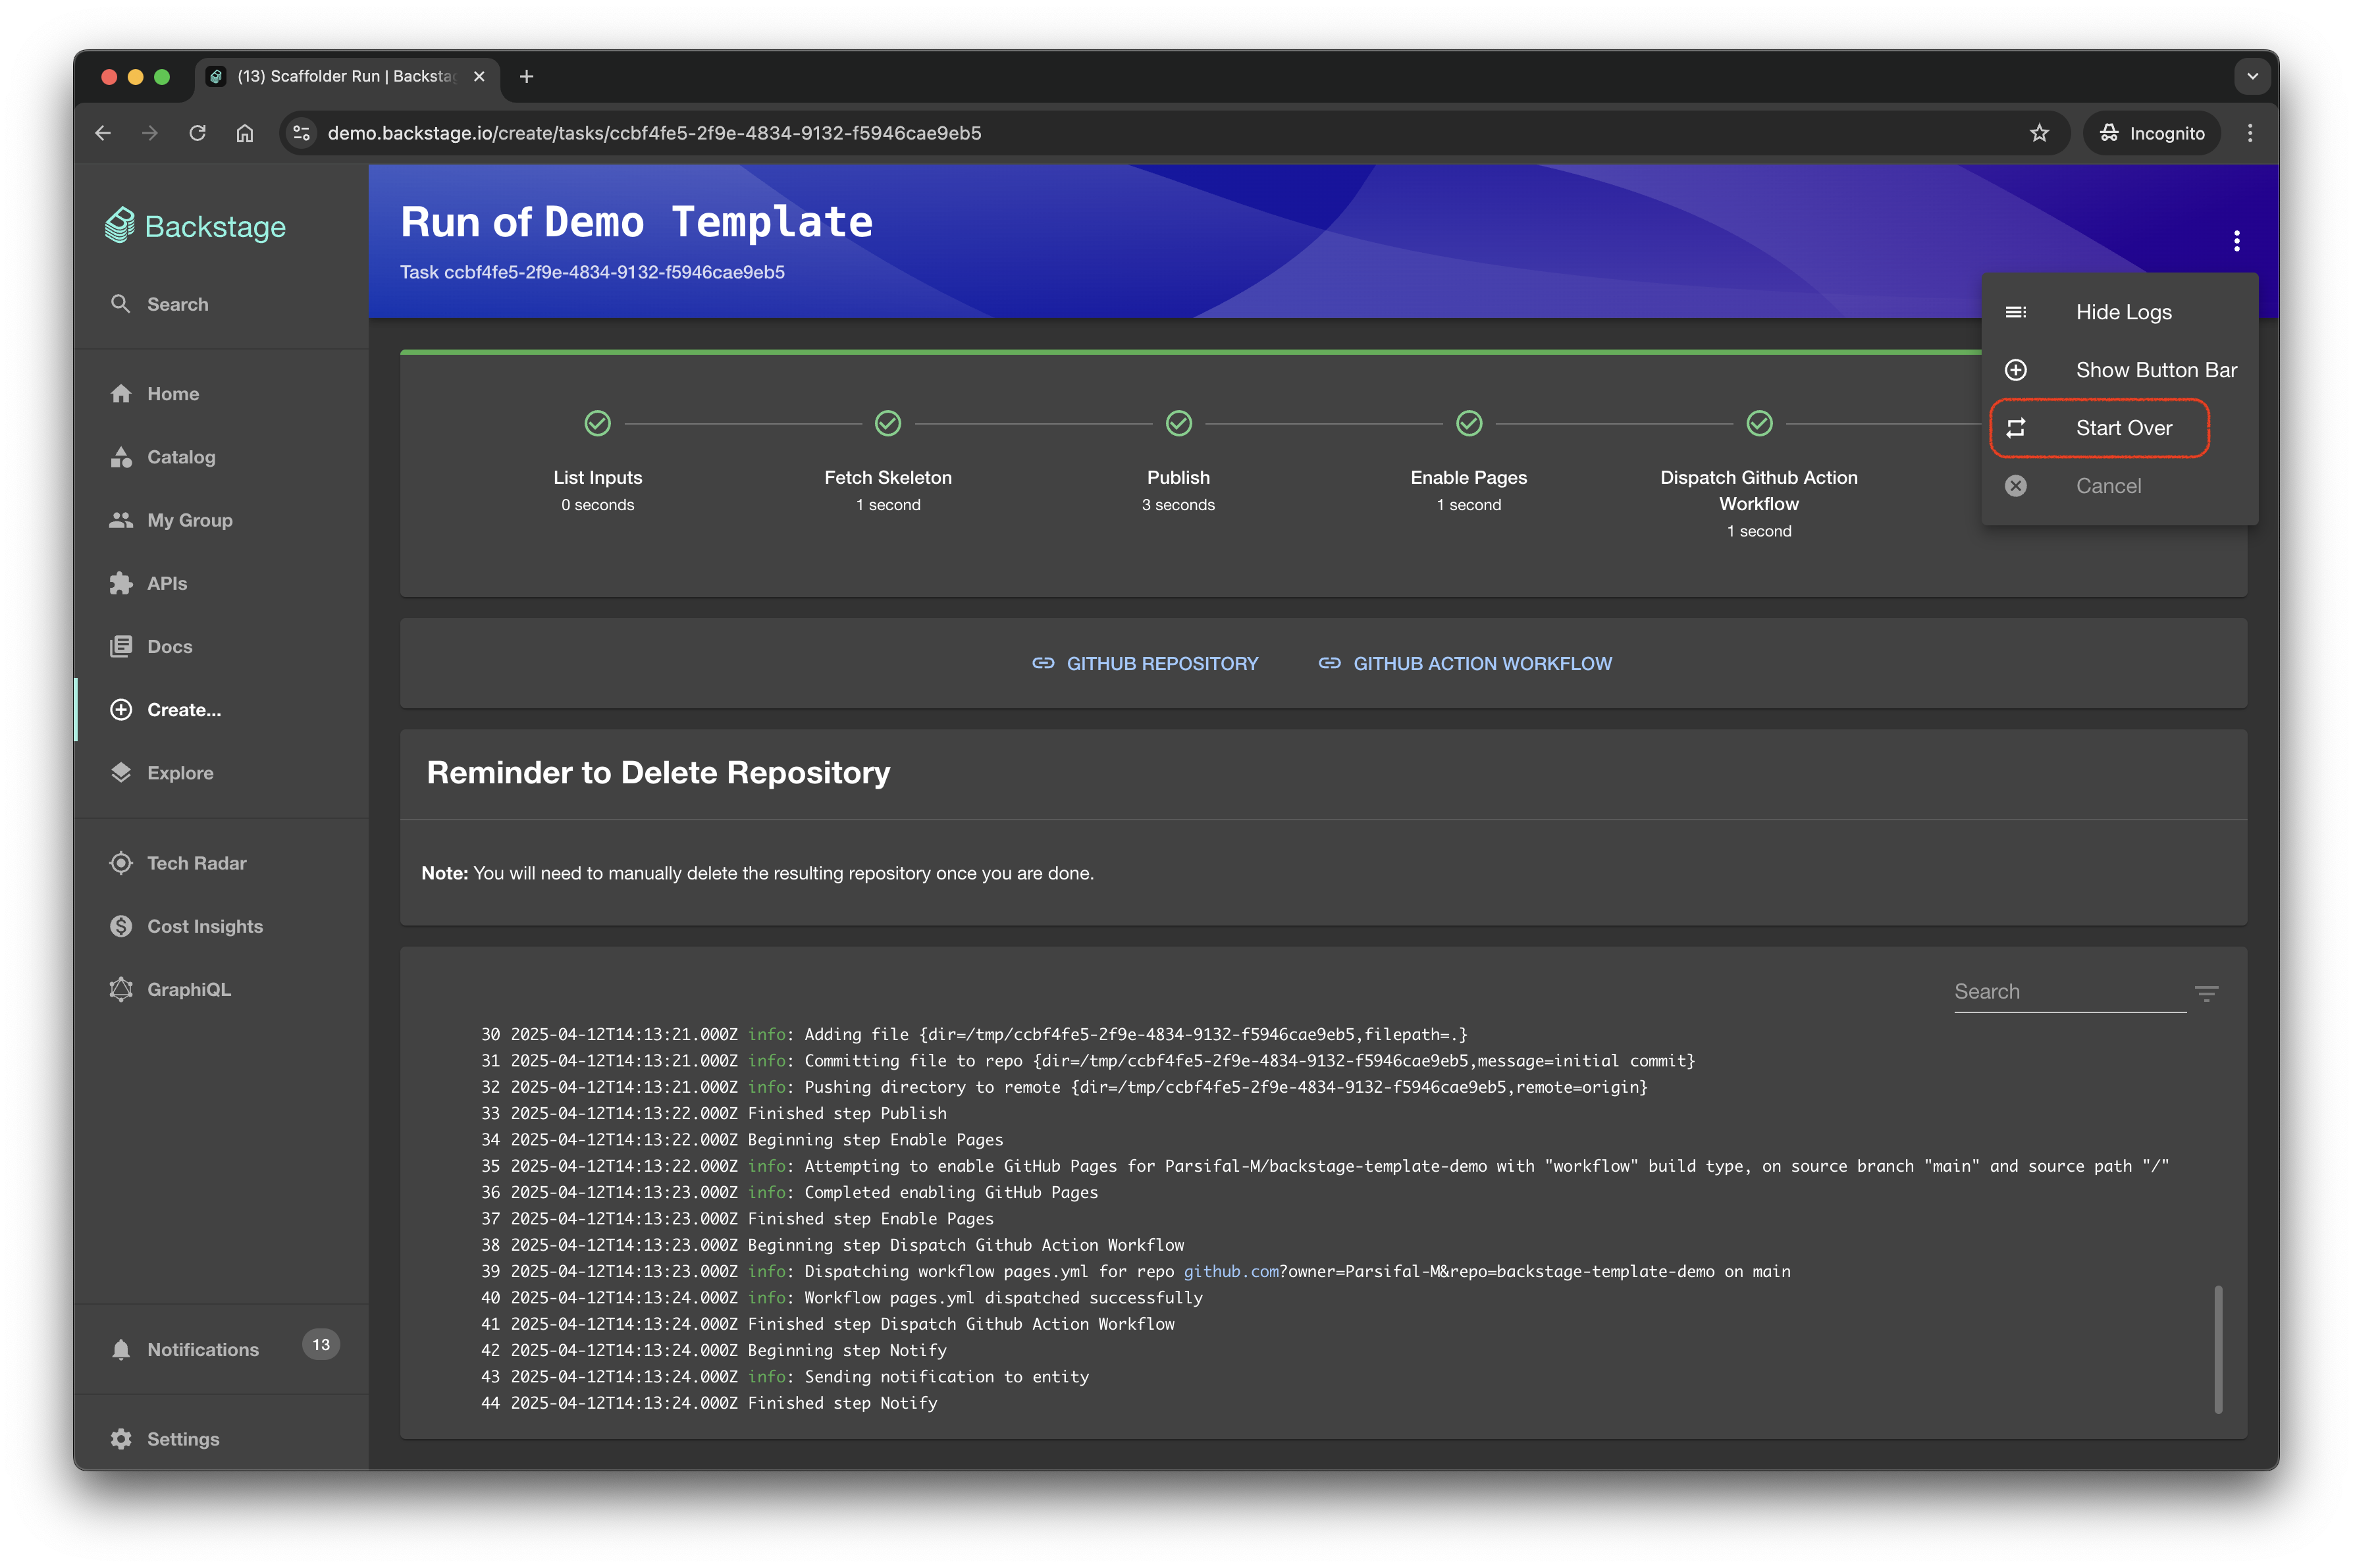
This action will initiate a new execution of the selected template, pre-populated with the same parameters as the previous run, but these parameters can be edited before re-execution.
In the event of a failed template execution, the "Start Over" option can be used to re-execute the template. The parameters from the original run will be pre-filled, but they can be adjusted as needed before retrying the template.
Want to see it in action?
The Backstage Demo Site has a template you are able to run, which is where the screenshots in this document were taken from!