Standalone Installation
Audience: Developers and Admins
Overview
This guide walks through how to create your own Backstage customizable app. This is the first step in evaluating, developing on, or demoing Backstage.
By the end of this guide, you will have a standalone Backstage installation running locally with an in-memory SQLite database and demo content. To be clear, this is not a production-ready installation, and it does not contain information specific to your organization until you set up integrations with your specific data sources!
If you are planning to contribute a new feature or bug fix to the Backstage project, we advise you to follow the Contributors guide instead to do a repository-based installation.
The instructions make use of npx. npx is a tool that comes preinstalled with Node.js and lets you run commands straight from npm or other registries.
This command creates a new directory with a Backstage app inside. The wizard will ask you for the name of the app. This name will be created as a subdirectory in your current working directory.
Inside that directory, it will generate all the files and folder structure needed for you to run your app.
General folder structure
Below is a simplified layout of the files and folders generated when creating an app.
app
├── app-config.yaml
├── catalog-info.yaml
├── package.json
└── packages
    ├── app
    └── backend
- app-config.yaml: Main configuration file for the app. See Configuration for more information.
- catalog-info.yaml: Catalog Entities descriptors. See Descriptor Format of Catalog Entities to get started.
- package.json: Root package.json for the project. Note: Be sure that you don't add any npm dependencies here as they probably should be installed in the intended workspace rather than in the root.
- packages/: Yarn workspaces, everything here is going to be a separate package, managed by Yarn.
- packages/app/: A fully functioning Backstage frontend app that acts as a good starting point for you to get to know Backstage.
- packages/backend/: We include a backend that helps power features such as Authentication, Software Catalog, Software Templates and TechDocs amongst other things.
Prerequisites
This guide also assumes a basic understanding of working on a Linux based operating system and have some experience with the terminal, specifically, these commands: npm, yarn.
- A minimum of 20 GB disk space to run the standalone Backstage application with demo data. NOTE: As you add more modules and plugins to an installation, the disk space requirements will increase, accordingly.
- A minimum of 6 GB memory.
- Access to a Unix-based operating system, such as Linux, macOS or Windows Subsystem for Linux. The Linux version must support the required Node.js version.
- A GNU-like build environment available at the command line.
For example, on Debian/Ubuntu you will want to have the
makeandbuild-essentialpackages installed. On macOS, you will want to runxcode-select --installto get the XCode command line build tooling in place. - An account with elevated rights to install the dependencies
curlorwgetinstalled- Node.js Active LTS Release installed using one of these
methods:
- Using
nvm(recommended)- Installing nvm
- Install and change Node version with nvm
- Node 22 or 24 are recommended, these can be installed using
nvm install 22ornvm install 24
- Binary Download
- Package manager
- Using NodeSource packages
- Using
- Install the
isolated-vmmodule, following their requirements section. yarnInstallation- Backstage currently uses Yarn 4.4.1, once you've ran
corepack enableyou'll want to then runyarn set version 4.4.1
- Backstage currently uses Yarn 4.4.1, once you've ran
dockerinstallationgitinstallation- If the system is not directly accessible over your network the following ports need to be opened: 3000, 7007. This is quite uncommon, unless you're installing in a container, VM or remote system.
Creating and running a Backstage application
This may take a few minutes to fully install everything. Don't stress if the loading seems to be spinning nonstop, there's a lot going on in the background.
To create the application:
-
Type the following command to install the Backstage application.
npx @backstage/create-app@latest -
If this is the first time that you are installing a Backstage application on this device, the following question is displayed. Enter
yand selectEnterto proceed with the installation.Need to install the following packages:
@backstage/create-app@<version>
ok to proceed? (y) -
Enter the name for your application and select
Enter. This is the root directory of your application. In this example, the name is set tomy-backstage-app.? Enter a name for the app [required] my-backstage-app
Creating the app...
Checking if the directory is available:
checking my-backstage-app ✔
Creating a temporary app directory:
Preparing files:
copying .dockerignore ✔
copying .eslintignore ✔
templating .eslintrc.js.hbs ✔
...
Moving to final location:
moving my-backstage-app ✔
fetching yarn.lock seed ✔
Installing dependencies:
executing yarn install ✔
executing yarn tsc ✔
Successfully created my-backstage-app
Your Backstage app is fully installed and ready to be run! Now that the installation is complete, you can go to the application directory and start the app using the yarn start command. The yarn start command will run both the frontend and backend as separate processes (named [0] and [1]) in the same window.
To run the application:
-
Change to the root directory of your Backstage app. This is the same as the name of your application that you provided during the installation. In this example, it is
my-backstage-app.cd my-backstage-app -
Start the Backstage application.
yarn start
As the frontend and backend are starting, you will see output similar to the following. The output shows that the app and backend are starting up with the configuration coming from app-config.yaml. You will see the plugins being initialized, and authorization and permissions being setup. In addition you will see a series of REST API calls for those plugins that use a service backend, such as the service catalog.
Starting app, backend
Loaded config from app-config.yaml
.
.
2025-10-15T12:26:41.564Z backstage info Plugin initialization started: 'app', 'proxy', 'scaffolder', 'techdocs', 'auth', 'catalog', 'permission', 'search', 'kubernetes', 'notifications', 'signals' type="initialization"
Rspack compiled successfully
.
.
2025-10-15T15:17:21.130Z auth info Created new signing key eec1a9e4-4395-4698-9a9f-f1b5cbcf152b component="token-factory"
2025-10-15T15:17:21.139Z auth info Issuing token for user:development/guest, with entities user:development/guest component="token-factory"
2025-10-15T15:17:21.223Z rootHttpRouter info [2025-10-15T15:17:21.223Z] "GET /api/auth/guest/refresh HTTP/1.1" 200 802 "http://localhost:3000/" "Mozilla/5.0 (X11; Ubuntu; Linux x86_64; rv:143.0) Gecko/20100101 Firefox/143.0" type="incomingRequest" date="2025-10-15T15:17:21.223Z" method="GET" url="/api/auth/guest/refresh" status=200 httpVersion="1.1" userAgent="Mozilla/5.0 (X11; Ubuntu; Linux x86_64; rv:143.0) Gecko/20100101 Firefox/143.0" contentLength=802 referrer="http://localhost:3000/"
.
.
2025-10-15T15:17:24.051Z rootHttpRouter info [2025-10-15T15:17:24.051Z] "GET /api/catalog/entities?fields=metadata,kind,spec.profile&filter=kind%3Dgroup%2Crelations.hasMember%3Duser%3Adevelopment%2Fguest HTTP/1.1" 304 0 "http://localhost:3000/" "Mozilla/5.0 (X11; Ubuntu; Linux x86_64; rv:143.0) Gecko/20100101 Firefox/143.0" type="incomingRequest" date="2025-10-15T15:17:24.051Z" method="GET" url="/api/catalog/entities?fields=metadata,kind,spec.profile&filter=kind%3Dgroup%2Crelations.hasMember%3Duser%3Adevelopment%2Fguest" status=304 httpVersion="1.1" userAgent="Mozilla/5.0 (X11; Ubuntu; Linux x86_64; rv:143.0) Gecko/20100101 Firefox/143.0" referrer="http://localhost:3000/"
.
.
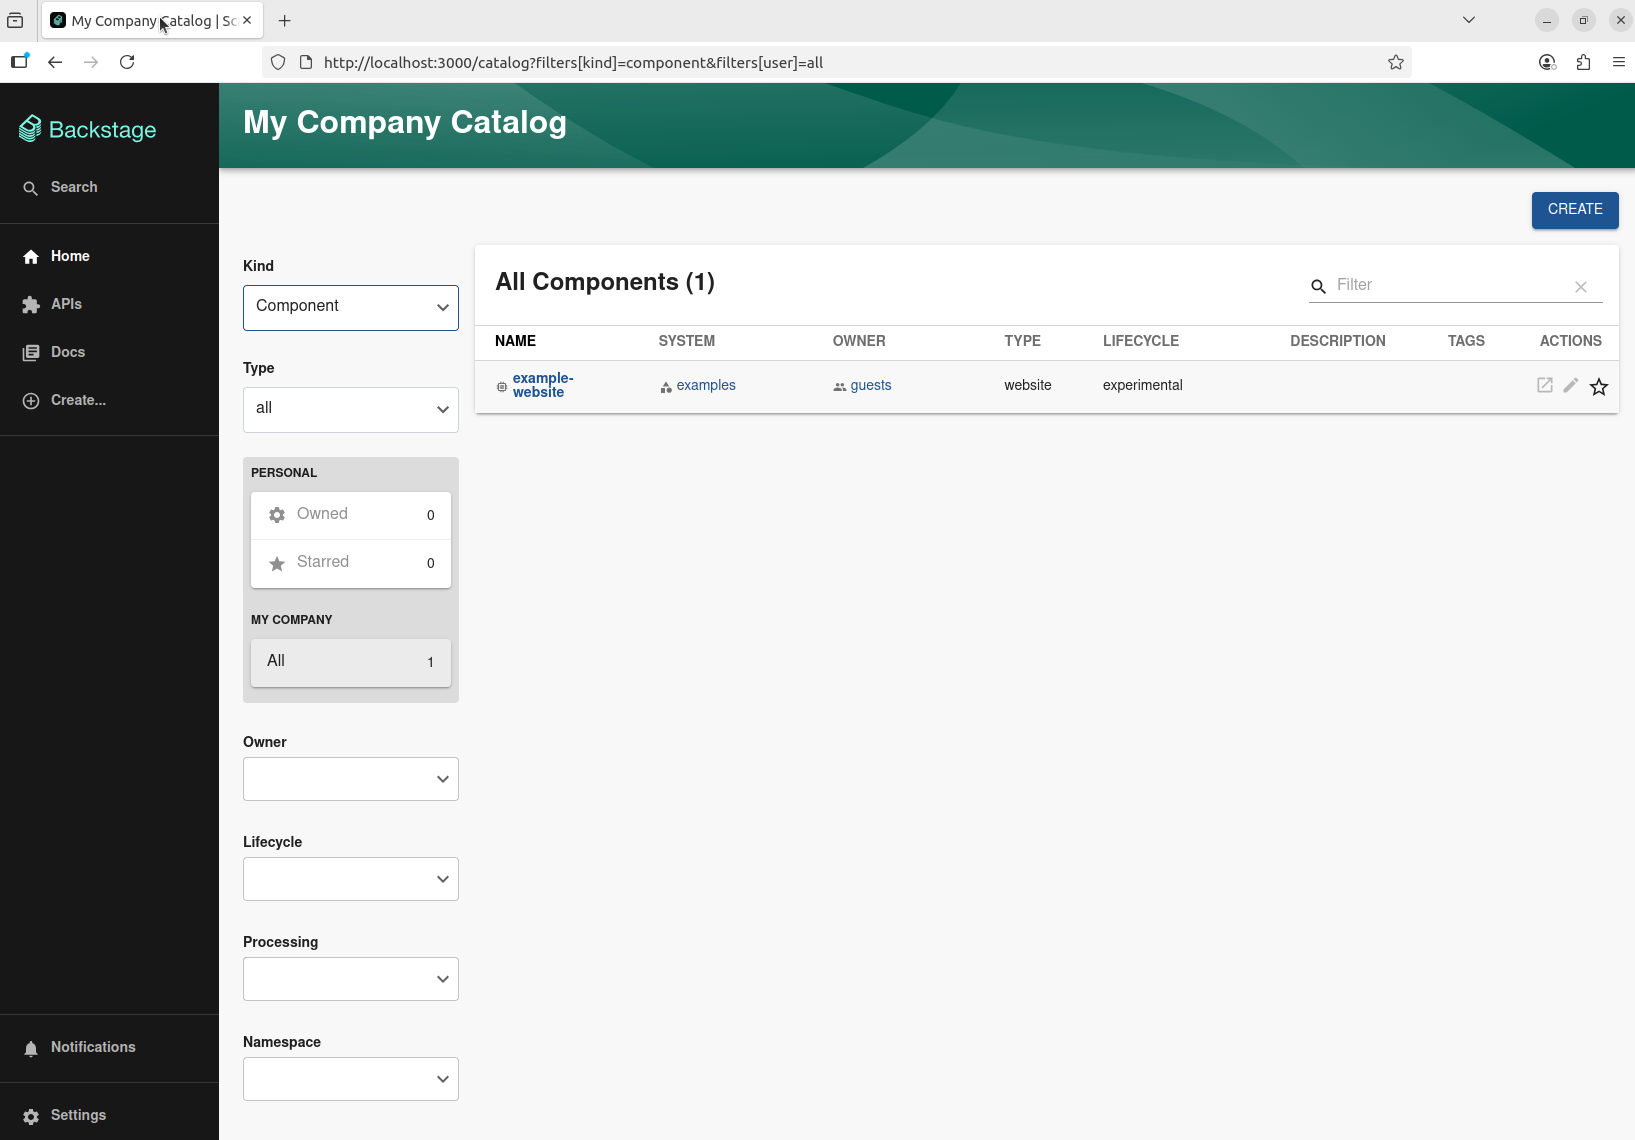
Once the Backstage UI is displayed, you can start exploring the demo immediately.
When you see the message Rspack compiled successfully, you can navigate directly to http://localhost:3000 to see your Backstage app.
Next steps
Choose the correct next steps for your user role, if you're likely to be deploying and managing a Backstage instance for your organization, look through the Admin section. If you're likely to be developing on/for Backstage, take a look through the Developer section.
Admin
- Configuring Backstage
- Deploying to production
Developer
- Using your Backstage instance
Share your experiences, comments, or suggestions with us: on discord, file issues for any feature or plugin suggestions