Contributing to Storybook
The Backstage Storybook provides you a way to explore reusable Backstage User Interface elements and how to use them in developing the Backstage core and its plugins. These UI elements are commonly called "components", and include things such as buttons, tables, specialized widgets with specific formatting, and so on.
You'll find our storybook at http://backstage.io/storybook.
As noted in the design introduction, Backstage's design is based off of Material UI. Much of the UI elements use direct Material UI, while we've also extended and written custom ones to provide specific functionality.
Storybook "Stories" are used to provide examples for how to use a specific component, which are then displayed both visually and with sample code to be copied.
When custom Backstage components are created, they are placed in the
@backstage/core-components package and added to the Storybook.
There may be times where an existing Material UI component (in
@material-ui/core) is sufficient and doesn't need to be wrapped or duplicated.
However, we may want to identify an opinionated way to use that component
inside of Backstage. In these cases, stories showing how to use those existing
components will also be put into our storybook.
When a story example using Material UI becomes more complex, requiring a specific set of colors, variants, parameters, etc., it may become a candidate to be refactored to become a full Backstage core component.
Creating a new Story
A Story basically represents a single visual state of a component.
To create a new story, create a new file located alongside the component you want to document on Storybook.
See below an example of the structure:
core
└── src
    └── components
        └── Progress
            ├── Progress.tsx
            └── Progress.stories.tsx
Make sure your component story file has the following format componentName.stories.tsx
Running locally
Go to storybook, run yarn install and install the dependencies, then run the
following on your command line: yarn storybook
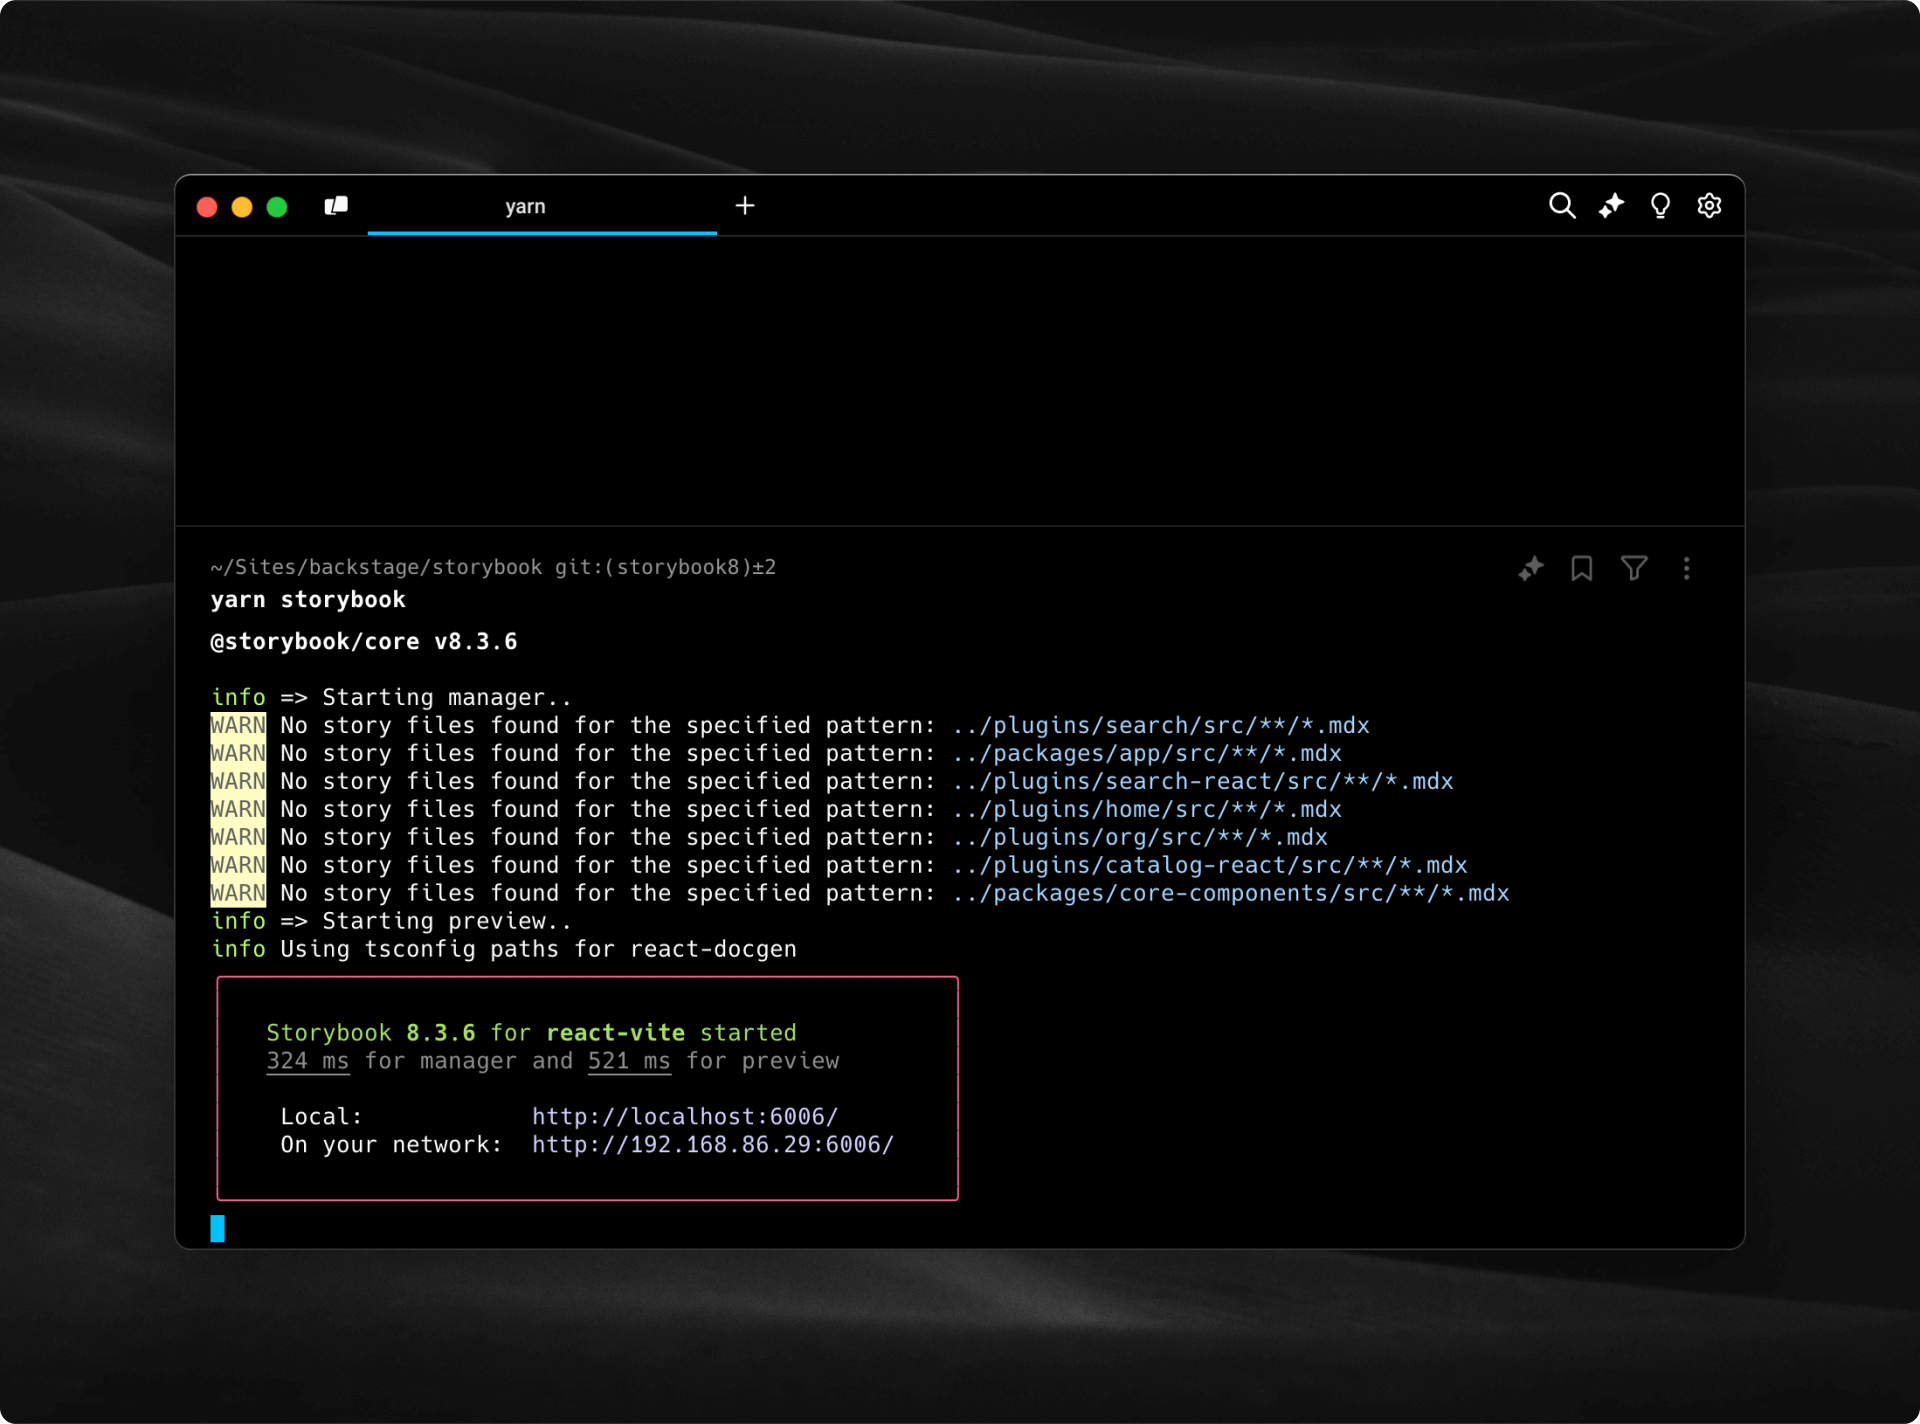
You should see a log like the image above.
If everything worked out, your server will be running on port 6006, go to
your browser and navigate to http://localhost:6006/. You should be able to
navigate and see the Storybook page.