Usage
This documentation is written for the new frontend system, which is the default in new Backstage apps. If your Backstage app still uses the old frontend system, read the old frontend system version of this guide instead.
Notifications Backend
The notifications backend plugin provides an API to create notifications, list notifications per logged-in user, and search based on parameters.
The plugin uses a relational database for persistence; no specifics are introduced in this context.
No additional configuration in the app-config is needed, except for optional additional modules for processors.
Notifications Frontend
The recipients of notifications have to be entities in the catalog, e.g., of the User or Group kind.
Otherwise, no specific configuration is needed for the front-end notifications plugin.
The NotificationsSidebarItem component can be used as an active left-side menu item in the front-end. Since the notifications plugin does not yet include a built-in navigation item, it needs to be added manually to your sidebar through a NavContentBlueprint in a custom app module. See the Getting Started guide for setup instructions.
You can customize the sidebar item using its properties to fit your specific needs.
Usage
New notifications can be sent either by a backend plugin or by an external service through the REST API.
Backend
Regardless of technical feasibility, a backend plugin should avoid directly accessing the notifications REST API.
Instead, it should integrate with the @backstage/plugin-notifications-node to send (create) a new notification.
The reasons for this approach include the propagation of authorization in the API request and improved maintenance and backward compatibility in the future.
import { notificationService } from '@backstage/plugin-notifications-node';

export const myPlugin = createBackendPlugin({
  pluginId: 'myPlugin',
  register(env) {
    env.registerInit({
      deps: {
        // ...
        notificationService: notificationService,
      },
      async init({
        // ...
        notificationService,
      }) {
        httpRouter.use(
          await createRouter({
            // ...
            notificationService,
          }),
        );
      },
    });
  },
});
To emit a new notification:
await notificationService.send({
  recipients /* of the broadcast or entity type */,
  payload /* actual message */,
});
Consult the API documentation for further details.
External Services
When the emitter of a notification is a Backstage backend plugin, it is mandatory to use the integration via @backstage/plugin-notifications-node as described above.
If the emitter is a service external to Backstage, an HTTP POST request can be issued directly to the API, assuming that authentication is properly configured. Refer to the service-to-service auth documentation for more details, focusing on the Static Tokens section for the simplest setup option.
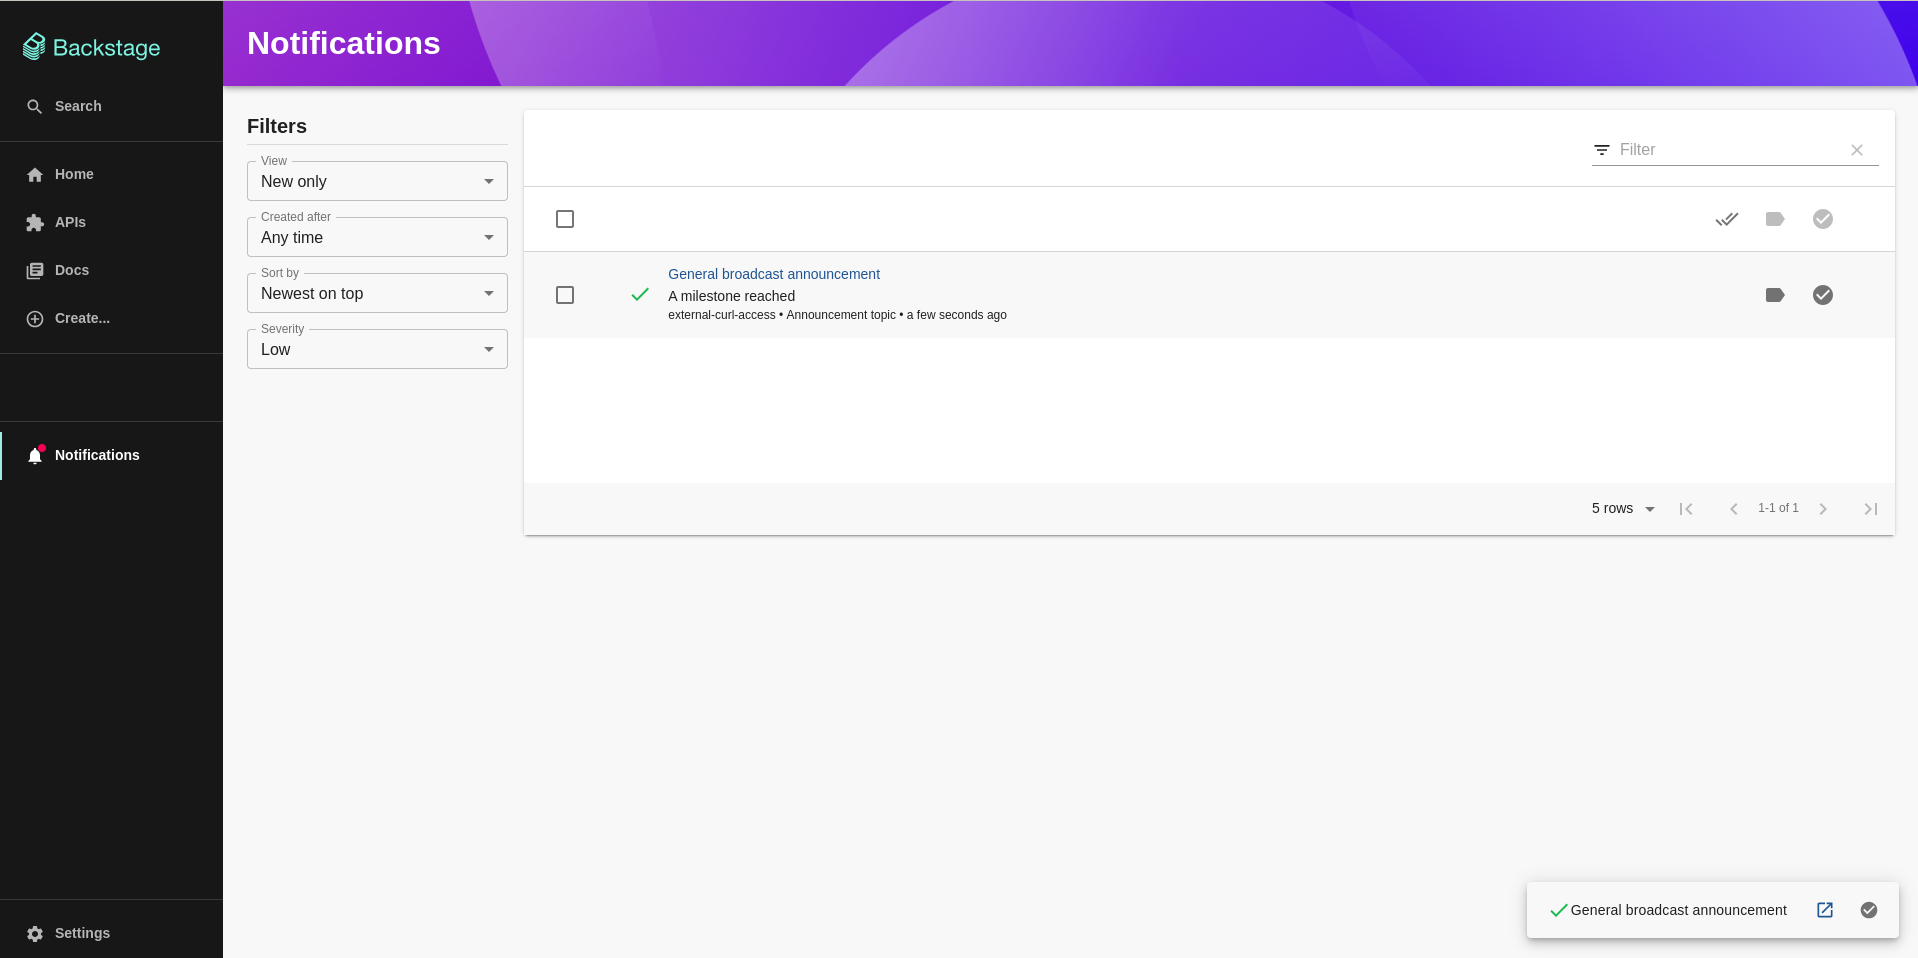
An example request for creating a broadcast notification might look like:
curl -X POST https://[BACKSTAGE_BACKEND]/api/notifications -H "Content-Type: application/json" -H "Authorization: Bearer YOUR_BASE64_SHARED_KEY_TOKEN" -d '{"recipients":{"type":"broadcast"},"payload": {"title": "Title of broadcast message","link": "http://foo.com/bar","severity": "high","topic": "The topic"}}'
Scaffolder Templates
You can use the @backstage/plugin-scaffolder-backend-module-notifications to send notifications when scaffolder templates are run. To install the module, add it to your backend plugin:
yarn workspace backend add @backstage/plugin-scaffolder-backend-module-notifications
Then, add the module to your backend:
const backend = createBackend();
// ...
backend.add(
  import('@backstage/plugin-scaffolder-backend-module-notifications'),
);
In your template you can now use notification:send action as part of the steps:
steps:
  - id: notify
    name: Notify
    action: notification:send
    input:
      recipients: entity
      entityRefs:
        - component:default/backstage
      title: 'Template executed'
      info: 'Your template has been executed'
      severity: 'info'
      link: https://backstage.io
Signals
The use of signals with notifications is optional but generally enhances user experience and performance.
When a notification is created, a new signal is emitted to a general-purpose message bus to announce it to subscribed listeners.
The frontend maintains a persistent connection (WebSocket) to receive these announcements from the notifications channel. The specific details of the updated or created notification should be retrieved via a request to the notifications API, except for new notifications, where the payload is included in the signal for performance reasons.
In a frontend plugin, to subscribe to notifications' signals:
import { useSignal } from '@backstage/plugin-signals-react';

const { lastSignal } = useSignal<NotificationSignal>('notifications');

React.useEffect(() => {
  /* ... */
}, [lastSignal, notificationsApi]);
Using signals in your own plugin
It's possible to use signals in your own plugin to deliver data from the backend to the frontend in near real-time.
To use signals in your own frontend plugin, you need to add the useSignal hook from @backstage/plugin-signals-react from @backstage/plugin-notifications-common with optional generic type of the signal.
// To use the same type of signal in the backend, this should be placed in a shared common package
export type MySignalType = {
  user: string;
  data: string;
  // ....
};

const { lastSignal } = useSignal<MySignalType>('my-plugin');

useEffect(() => {
  if (lastSignal) {
    // Do something with the signal
  }
}, [lastSignal]);
To send signals from the backend plugin, you must add the signalsServiceRef to your plugin or module as a dependency.
import { signalsServiceRef } from '@backstage/plugin-signals-node';
export const myPlugin = createBackendPlugin({
  pluginId: 'my',
  register(env) {
    env.registerInit({
      deps: {
        httpRouter: coreServices.httpRouter,
        signals: signalsServiceRef,
      },
      async init({ httpRouter, signals }) {
        httpRouter.use(
          await createRouter({
            signals,
          }),
        );
      },
    });
  },
});
To send the signal using the service, you can use the publish method.
signals.publish<MySignalType>({ user: 'user', data: 'test' });
Consuming Notifications
In a front-end plugin, the simplest way to query a notification is by its ID:
import { useApi } from '@backstage/core-plugin-api';
import { notificationsApiRef } from '@backstage/plugin-notifications';

const notificationsApi = useApi(notificationsApiRef);

notificationsApi.getNotification(yourId);

// or with connection to signals:
notificationsApi.getNotification(lastSignal.notification_id);
Metadata Field
The metadata field is a freeform object that is designed to be used by processors.
Well-known Notification Metadata Fields
Below are metadata fields that will be commonly used between processors and have defined schematics.
backstage.io/body.markdown
# Example:
const payload = {
  title: 'Entities Require Attention',
  description: 'Entities: Service A, Service B',
  metadata: {
     'backstage.io/body.markdown': `
        # Entities
        - Service A
        - System B
     `
  }
}
This value of this metadata field should be the notification message in markdown format. This allows additional formatting options for processors that support markdown.
Usage
Below is an example of using the backstage.io/body.markdown metadata field in a custom processor.
When sending a notification:
notificationService.send({
  recipients: { type: 'entity', entityRef: 'group/default:team-a' },
  payload: {
    title: 'Notification',
    description: 'Description',
    metadata: {
      'backstage.io/body.markdown': `
        ### Notification
        Description
      `,
    },
  },
});
In the processor, you can then use the metadata field accordingly:
async postProcess(notification: Notification): Promise<void> {
  // We suggest you parse the metadata field with a schema, i.e. Zod
  const parseResult = CustomProcessorMetadataSchema.safeParse(notification.payload.metadata ?? {});
  const metadata = parseResult.success ? parseResult.data : {};

  customNotificationSender.send({
    to: getUsers(notification.recipients),
    subject: notification.payload.title,
    markdownText: metadata['backstage.io/body.markdown'] ?? notification.payload.description,
  });
}